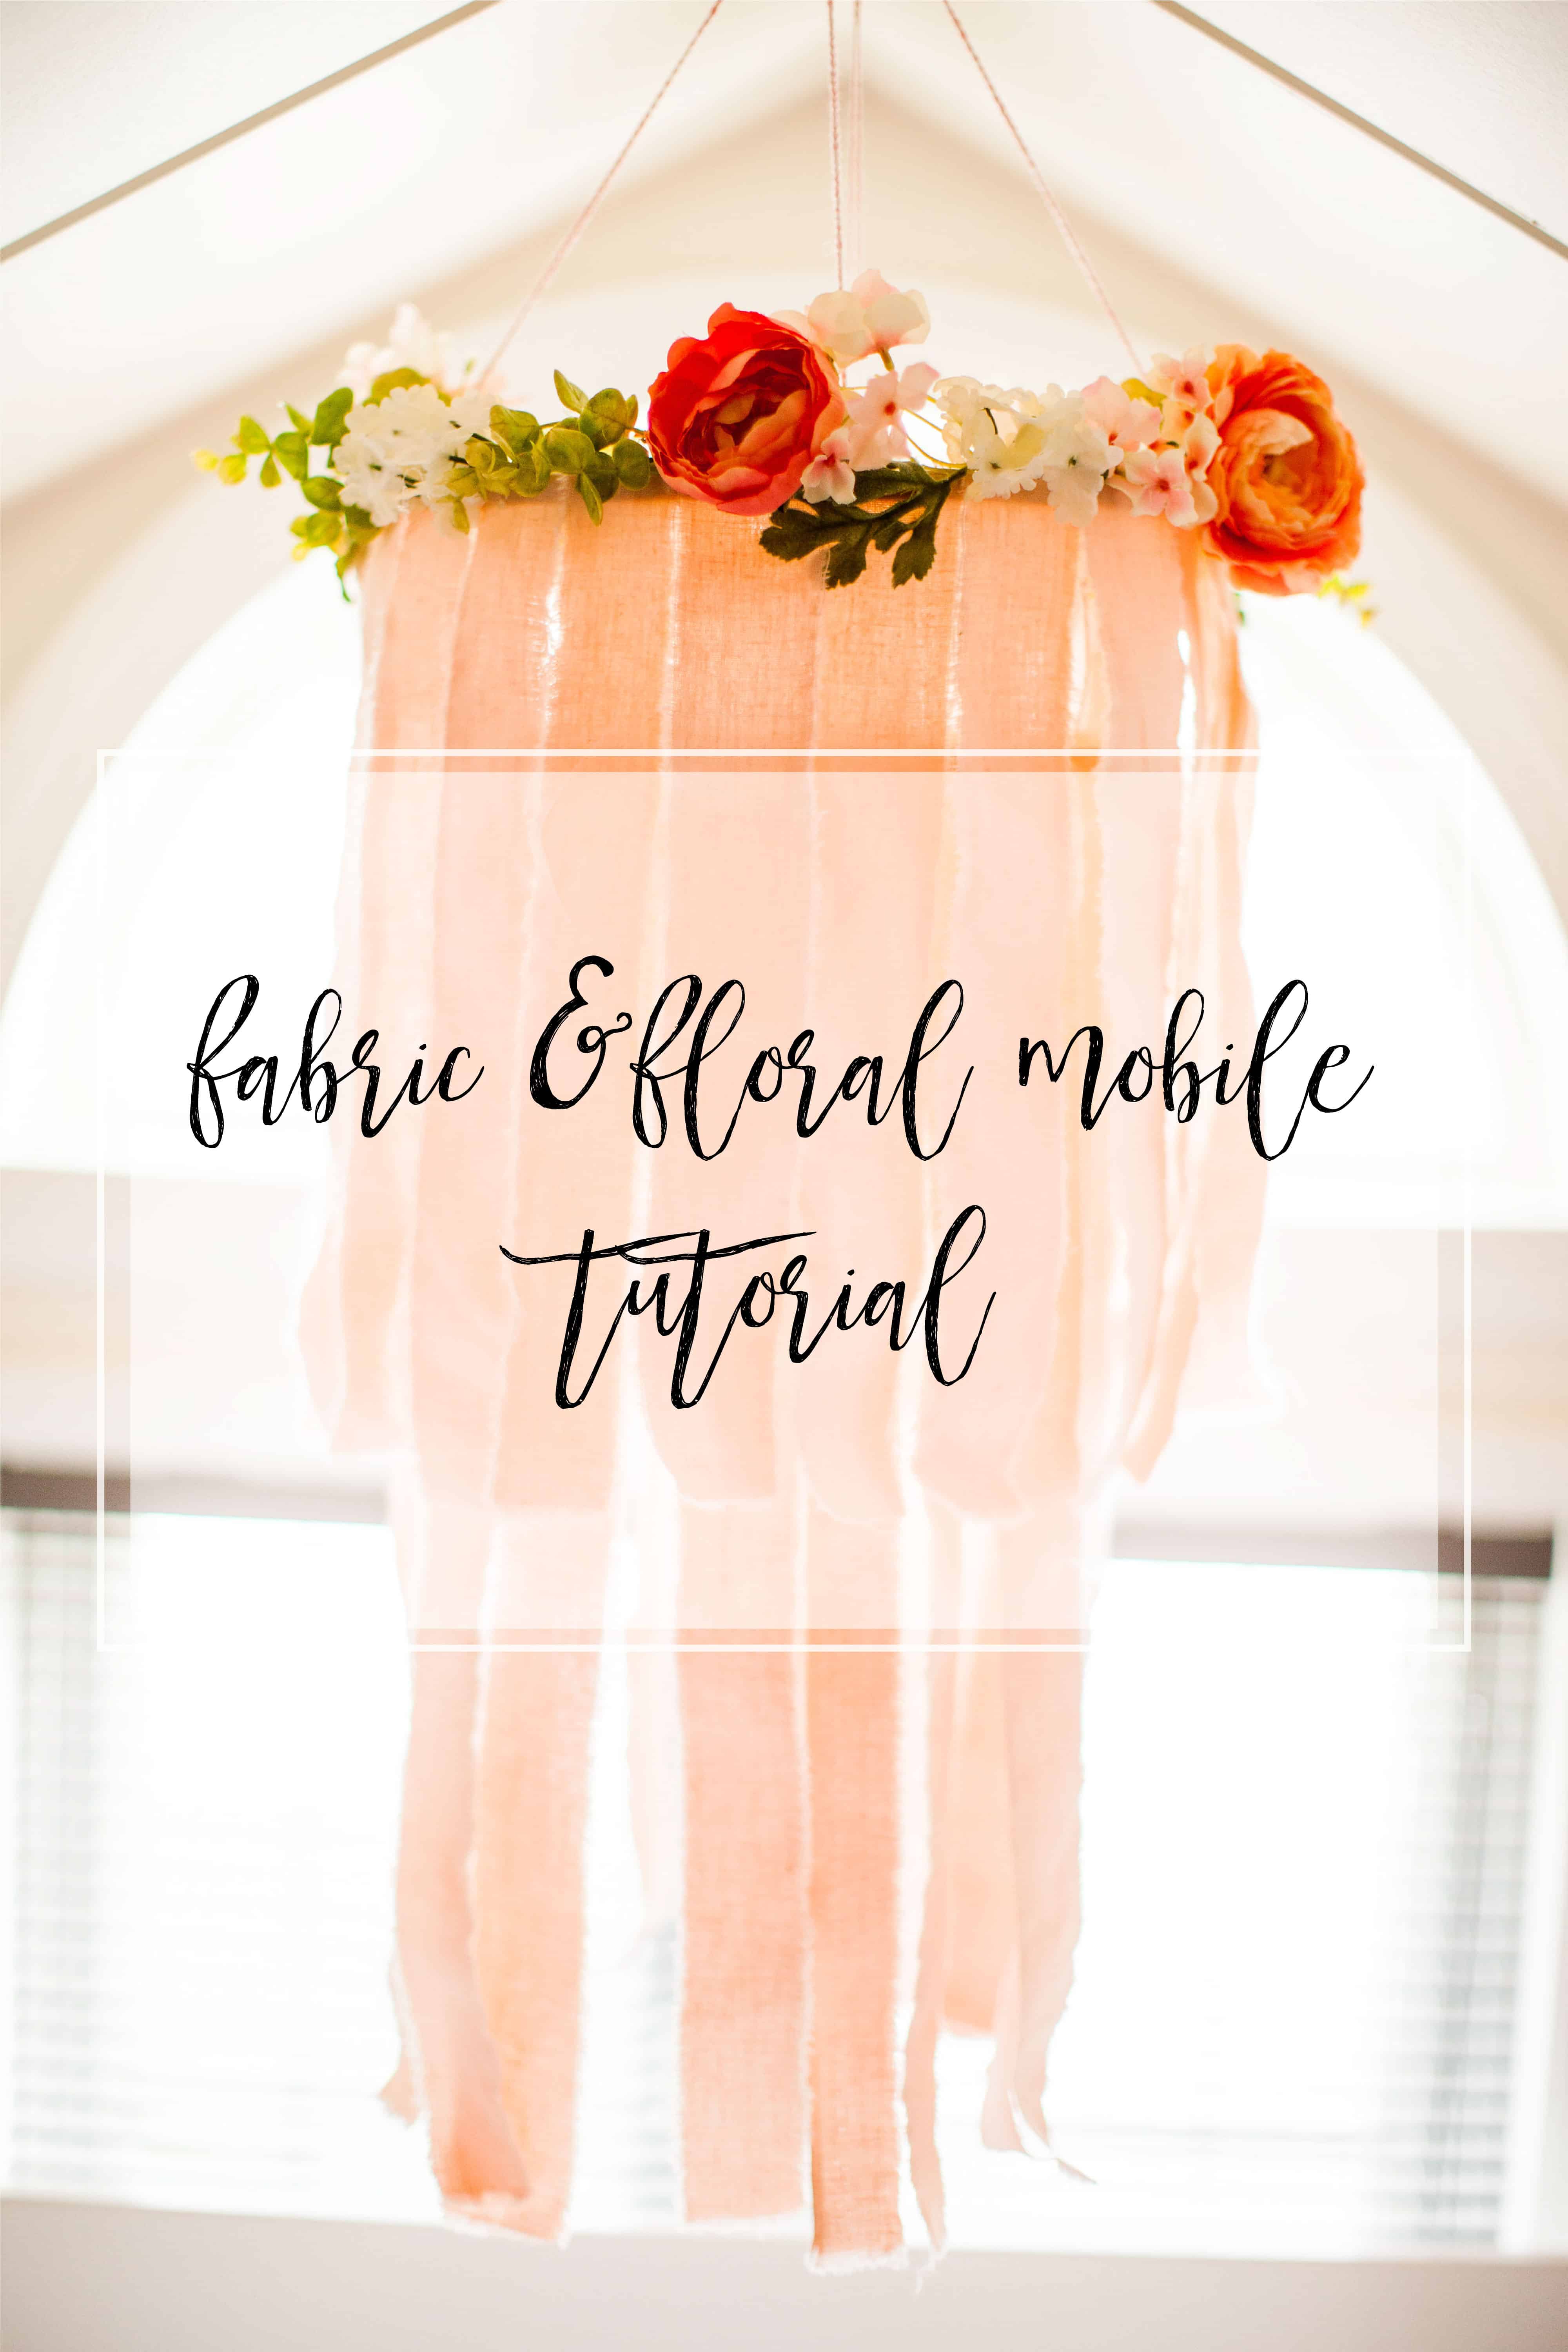
I showed you Lucy’s little nursery nook awhile ago but wanted to share an easy peasy project that I thought added a lot of impact, her fabric mobile. It was super simple to throw together two of these in an hour (I used the set to decorate for Harper’s pancake party). I have seen a few tutorials on Pinterest but they all started with a wire fruit basket and that seemed like such a pain to procure so I just hacked it (as I do). Here’s how…
Supplies:
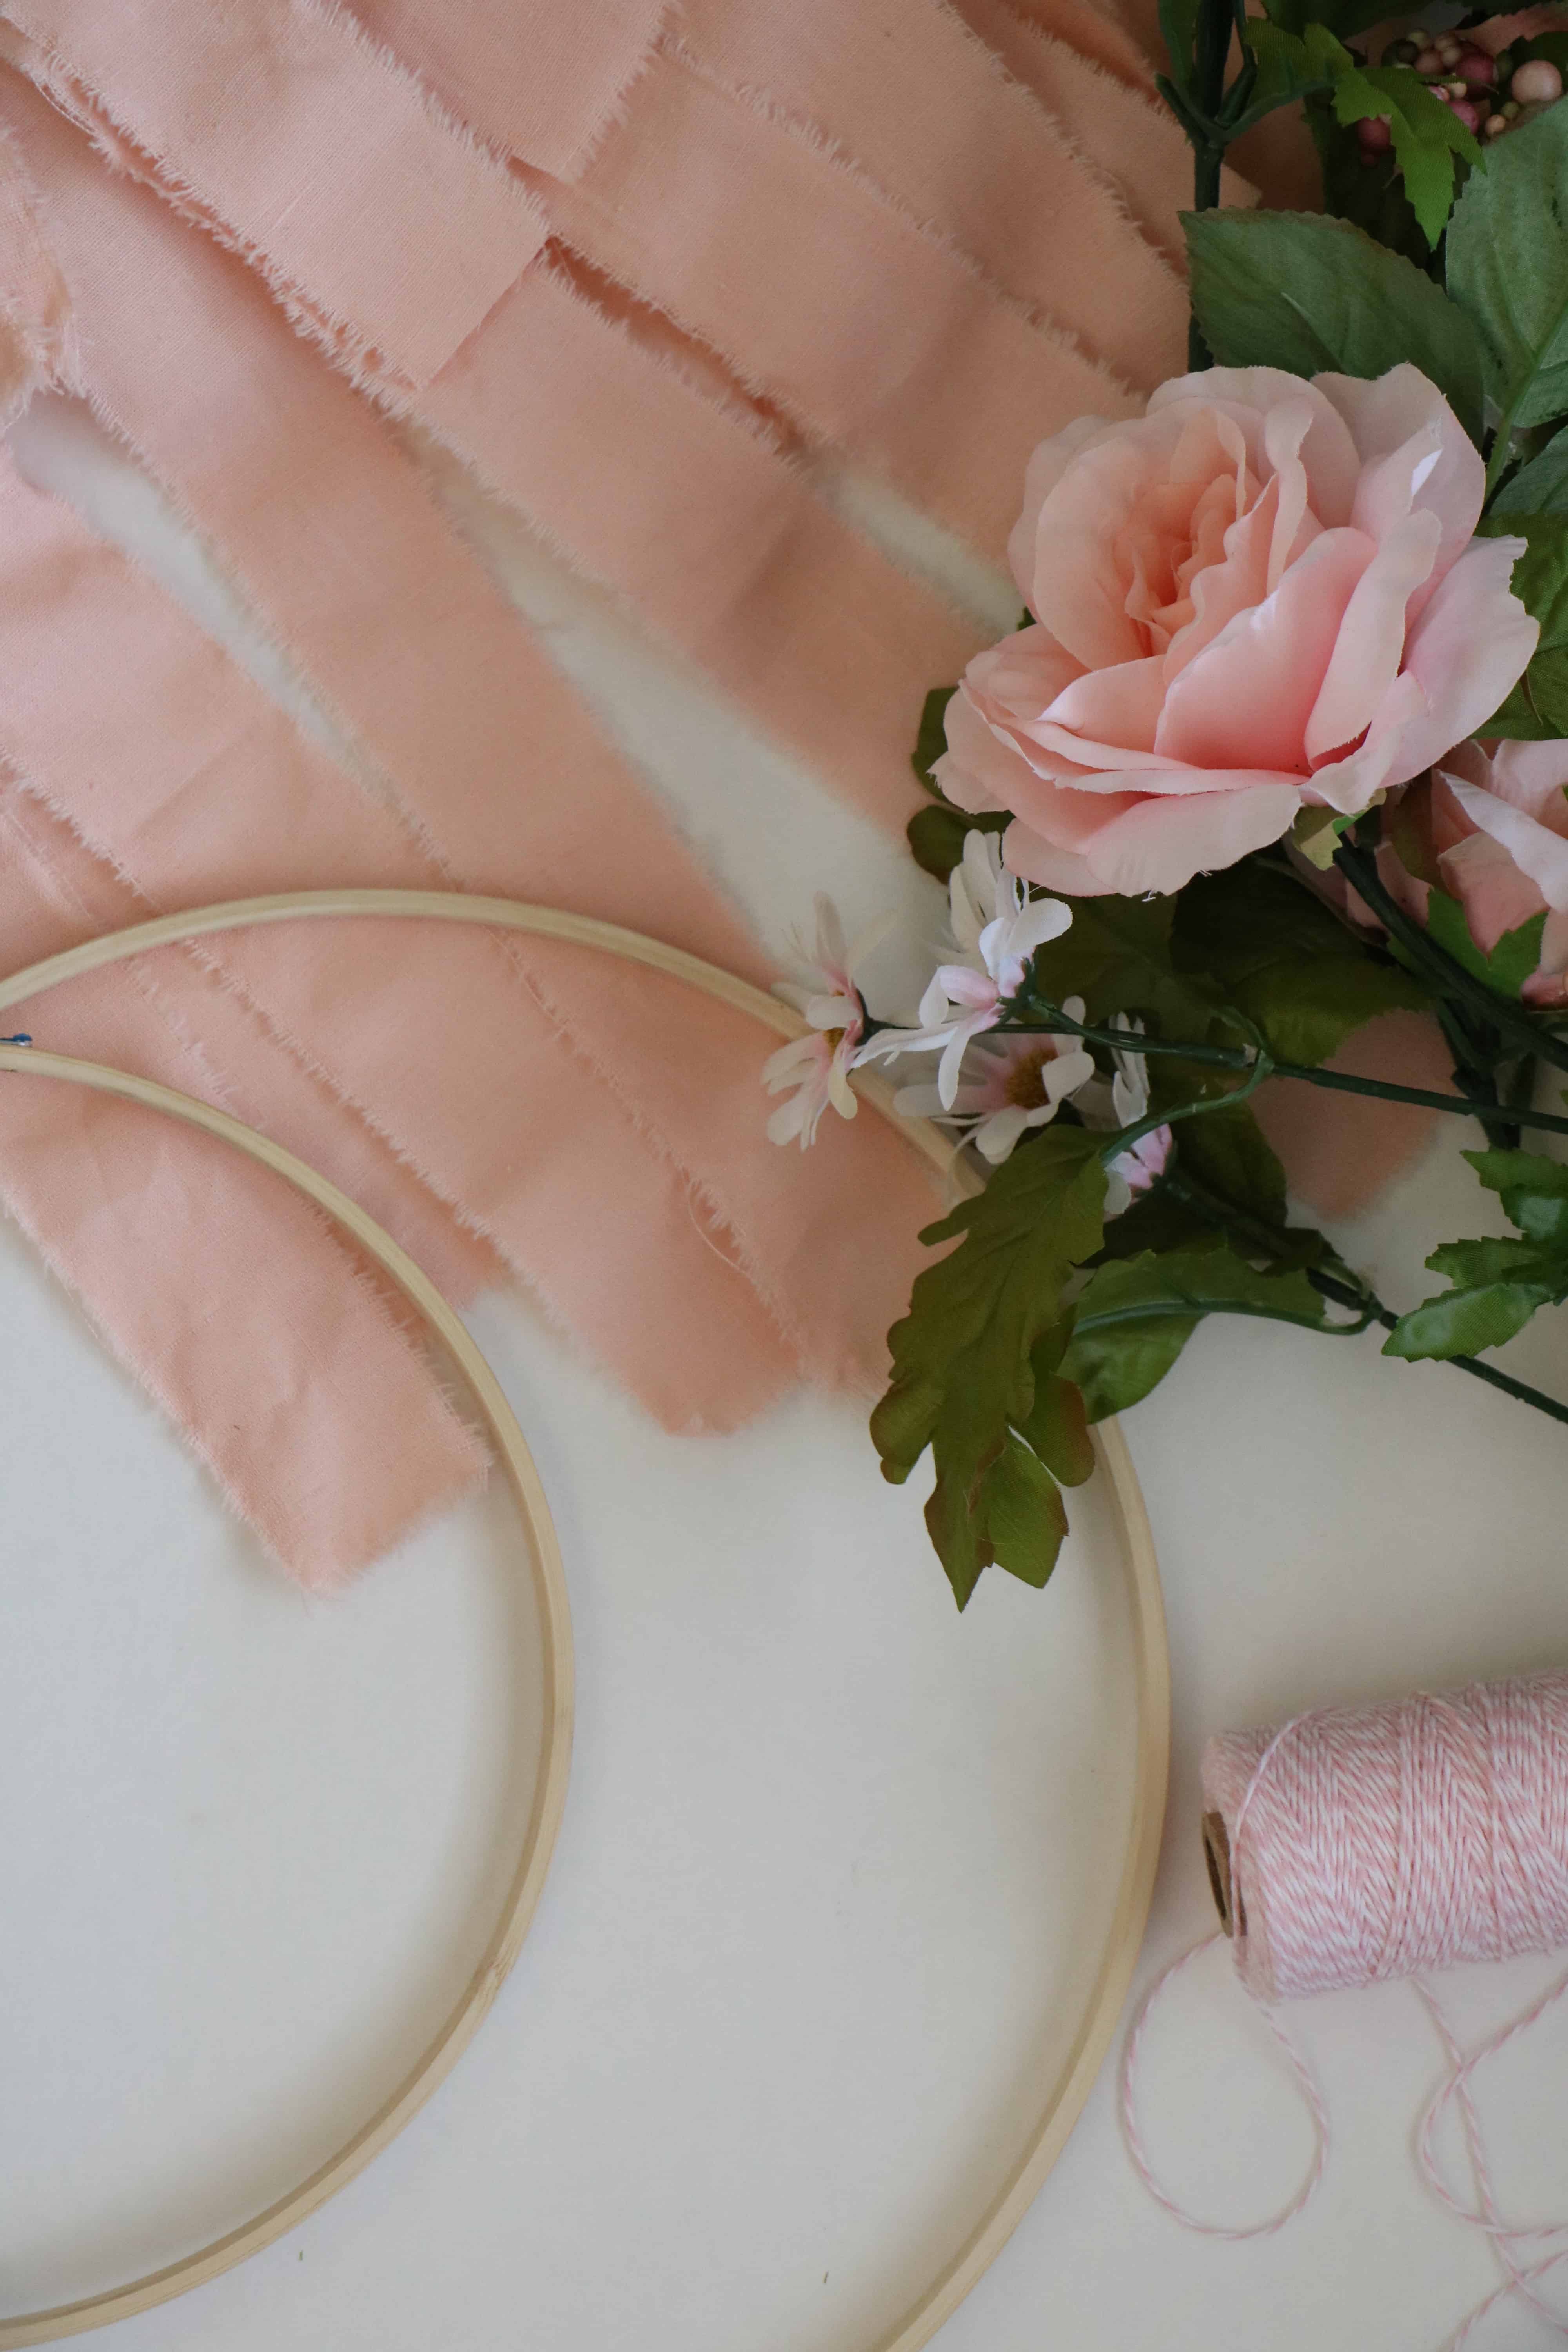
2 embroidery hoops in staggered sizes (small on the bottom/large on top)
Bakers twine/fishing wire/something to tie the two hoops together. I used bakers twine because that’s what I had on hand and it worked beautifully.
1-2 yards of fabric (I used inexpensive linen found at the DTLA fashion district)
Faux flowers, the amount and style is up to you. I could see this being really cute with paper flowers or even felt. I just used a few swags from Hobby Lobby. I want to say they were around $15 each.
**The cost for each mobile is really up to you. The faux flowers make up the bulk of the expense (save those 40% off Michael’s coupons). I happened to have quite a few leftover from a wedding shower I hosted a year ago so I wasn’t really out much. You could also do a pom pom trim or other inexpensive cover up if you don’t like the look of the flowers or need to cut costs.
The process:
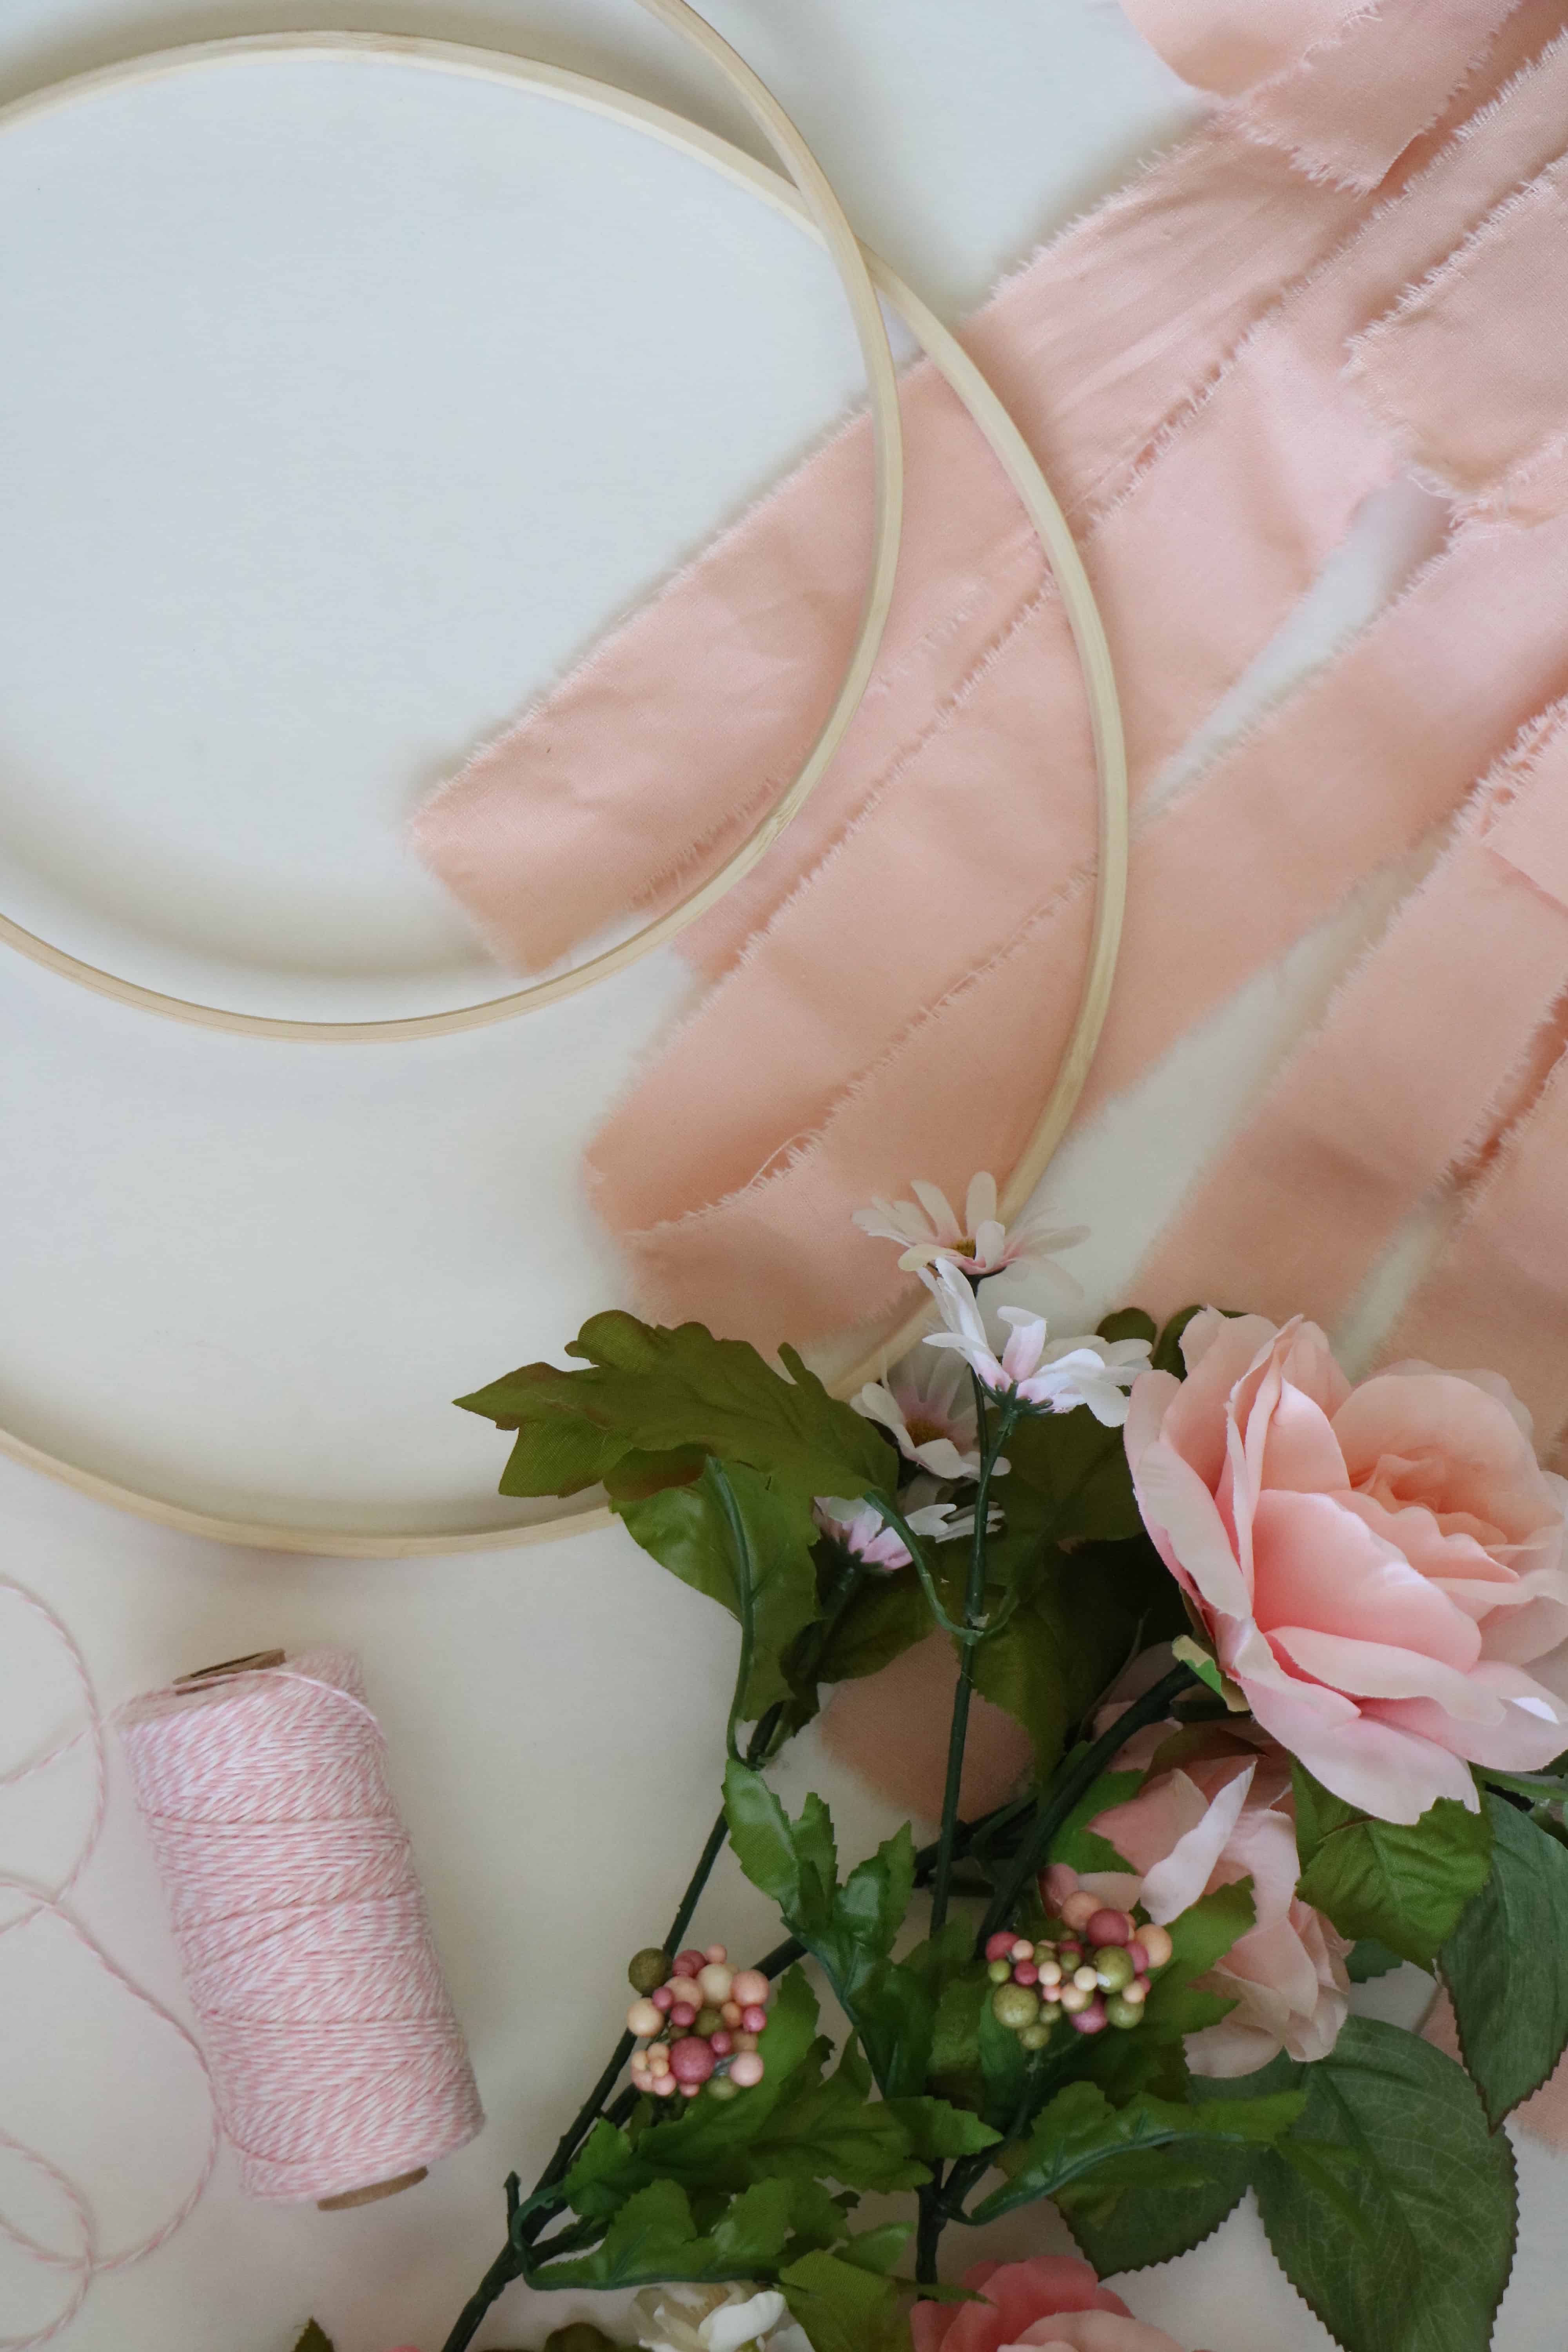
Start by separating your embroidery hoops, you’ll want to use the inner rings, the ones without the hardware on it (although, if you need four mobiles you could totally cover the hardware with fabric).
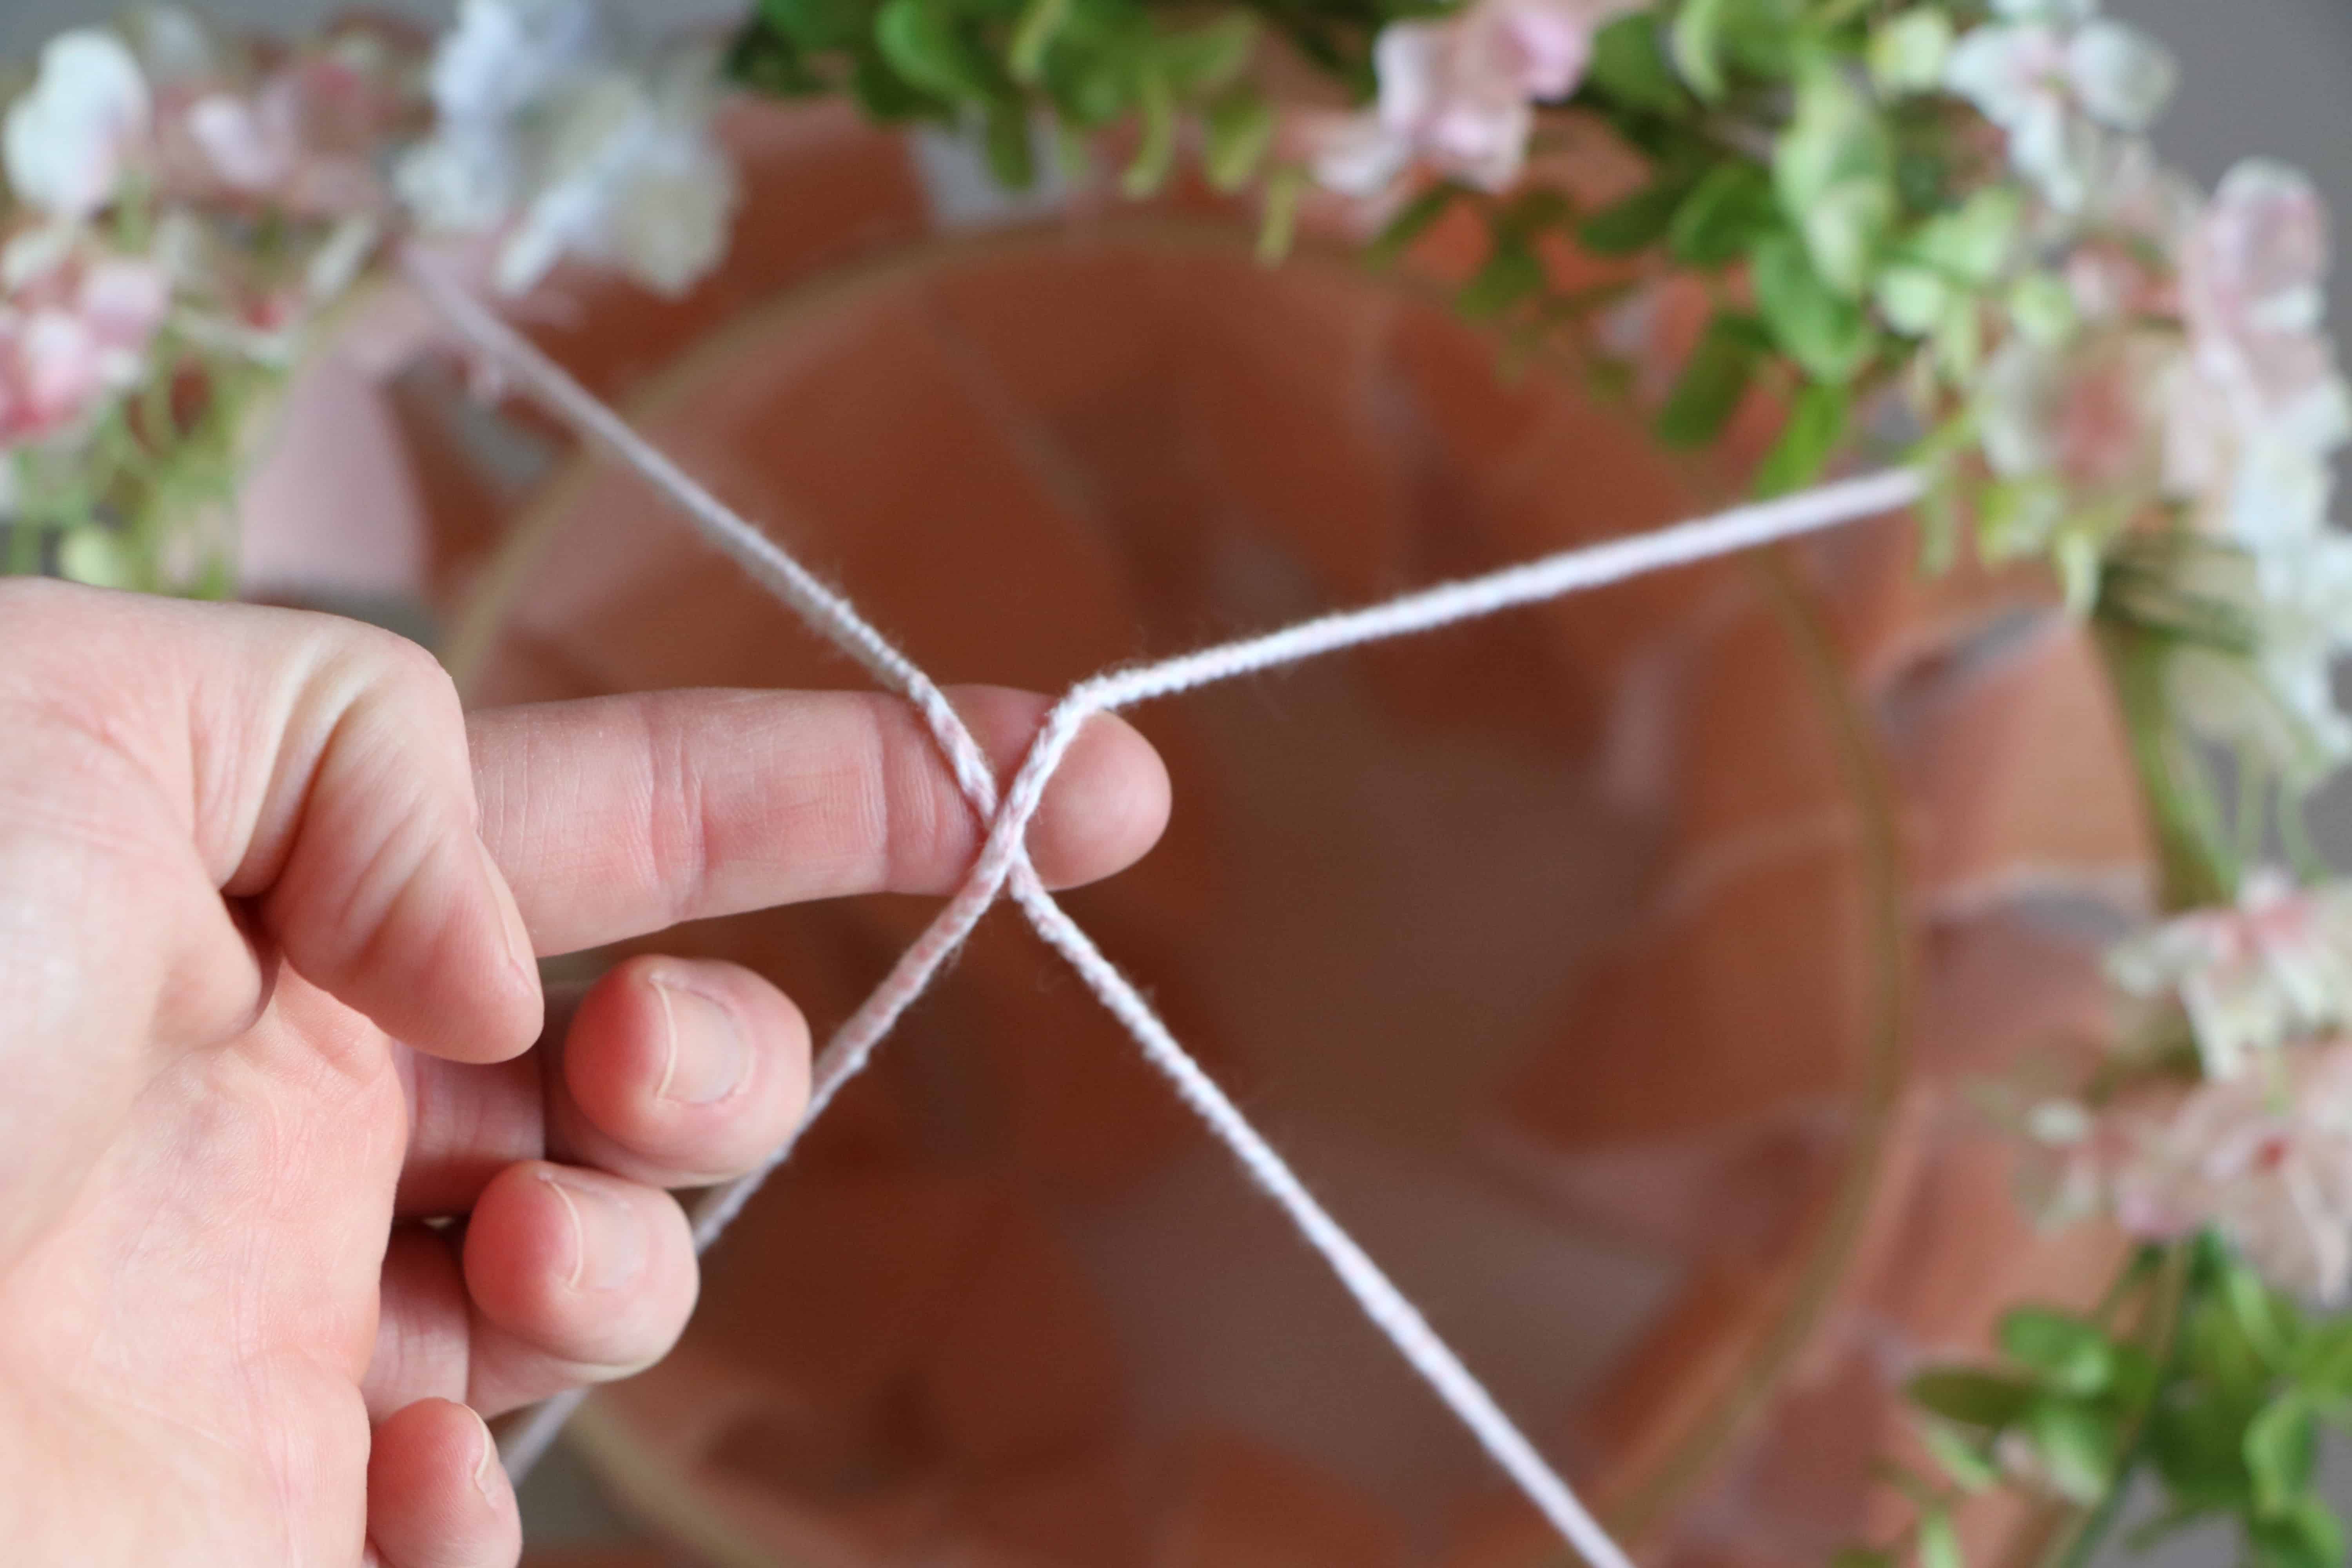
Decide how much longer you would like your inner circle to be from your top. I just eyeballed it but would guess it is about 4 inches lower. Tie the two rings together with your twine (again, totally eye balled this). The picture below shows how the hoops are tied together from the inside. I apologize that I don’t have great process shots but I hadn’t planned on a tutorial so these were all taken after the mobiles were completed.
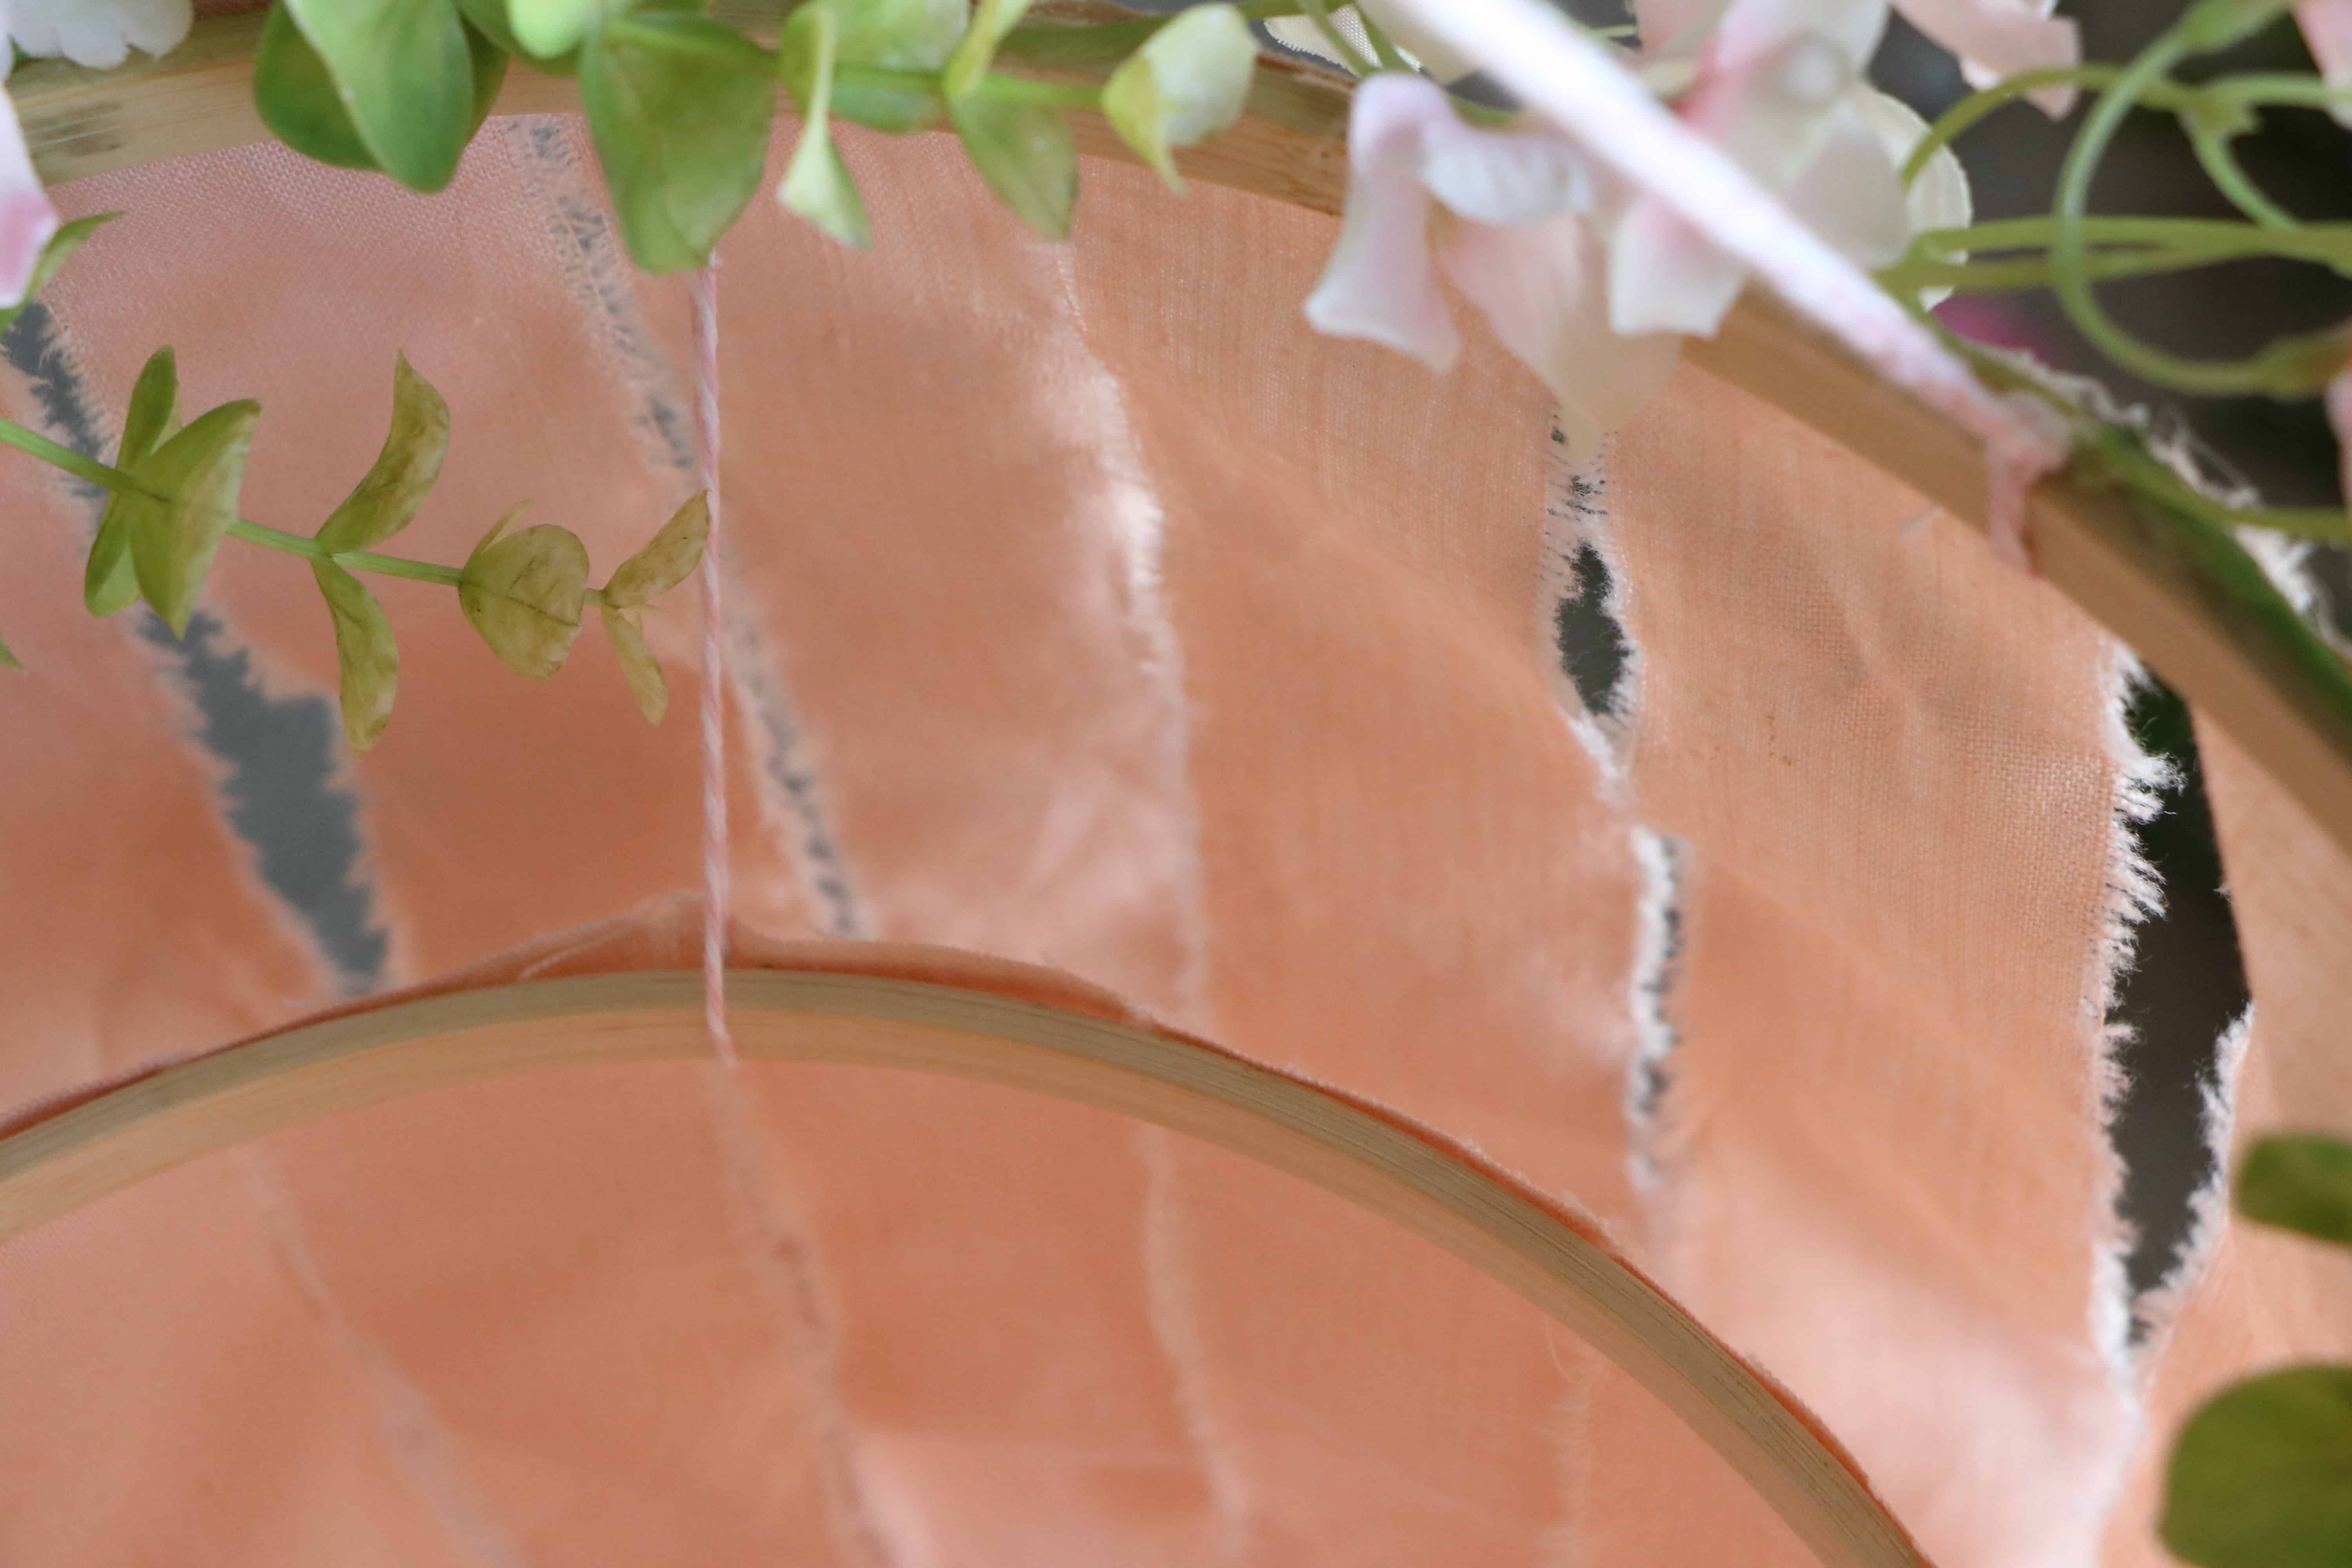
You’ll also want to cut two pieces of twine/ribbon to string up your finished mobile. They’ll cross in the middle of the hoop to create an X. I wanted mine to be really secure so I could use it outdoors so I cut three equal pieces of string and braided them together for a thicker support system. Fishing wire would also work great.
I used exactly two yards of fabric to outfit both mobiles, you can use more or less fabric depending on how sheer you would like it to be. Cut two inch strips of your fabric (for the love, do not measure!). This is where linen or really cheap cotton is a plus, it rips very easily. I just snipped across the top of my fabric in approximate two inch increments and then tore it all. I like the rustic feel of it but you could definitely use a rotary cutter if you want a cleaner look.
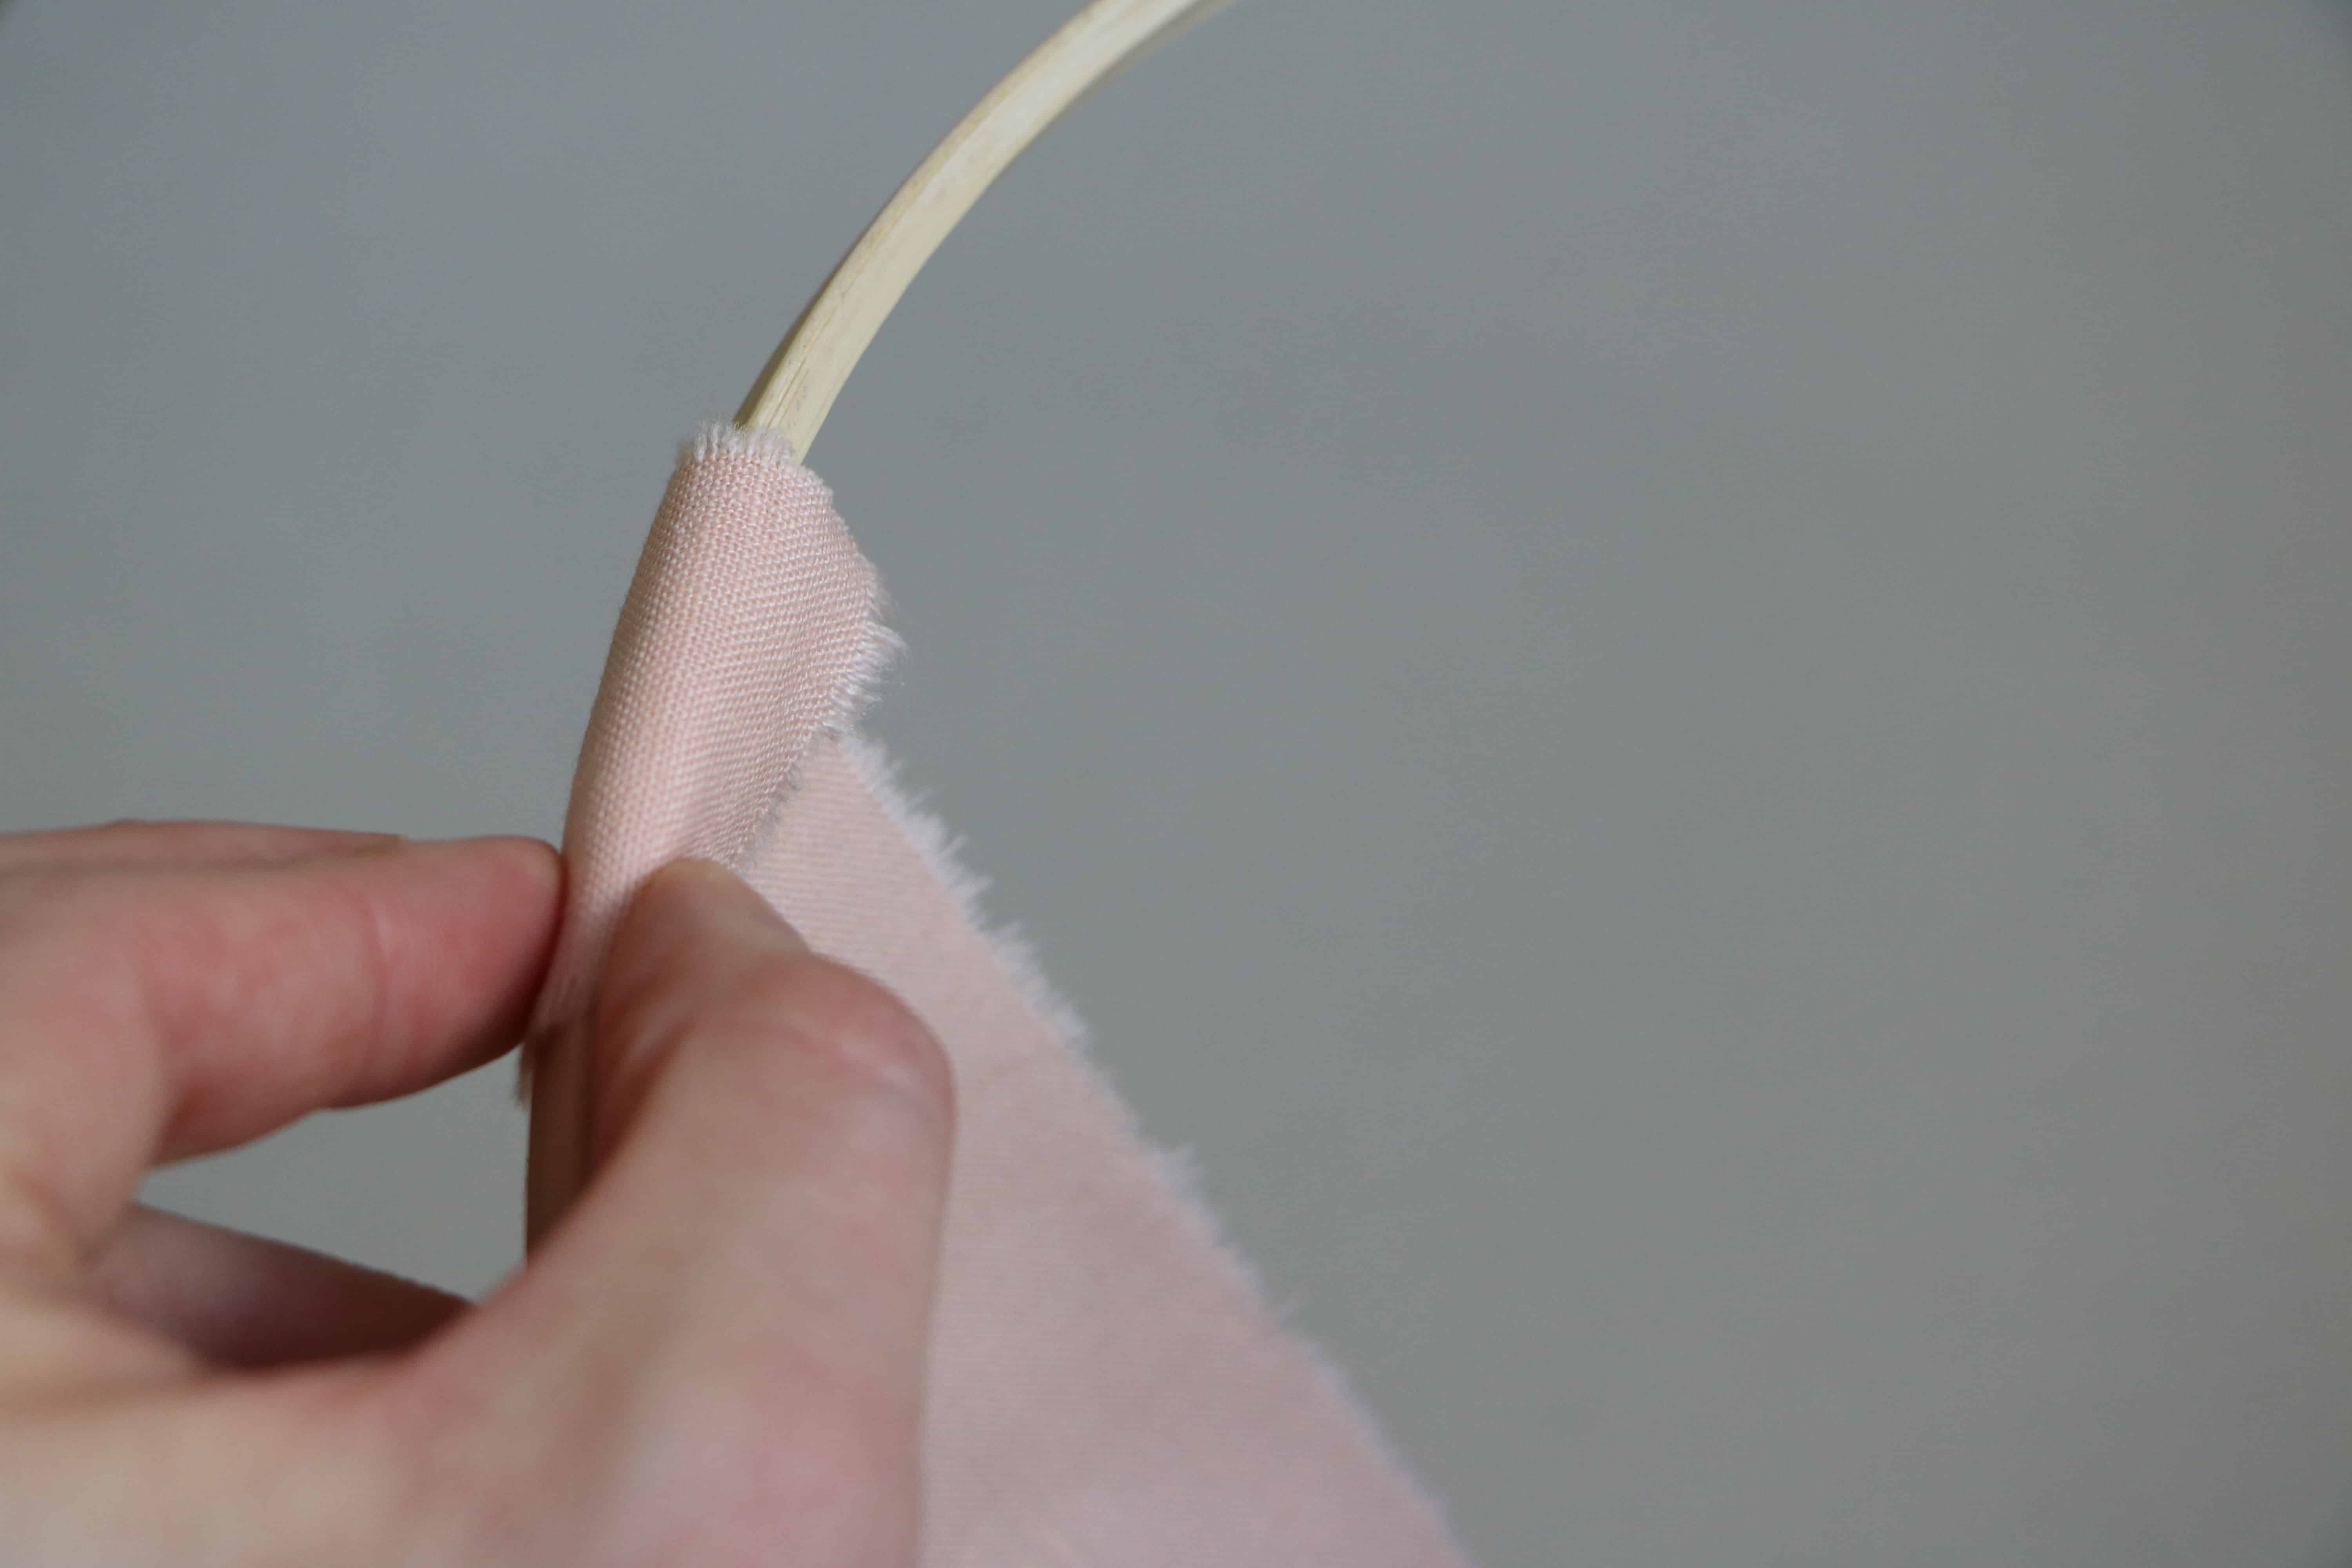
Fire up that hot glue gun and go nuts. I found it easiest to glue the fabric to the front of the hoop and then tuck a little bit up and over the top and glue to the backside of the hoop. I hope this photo makes that description a little clearer.
Once your fabric is adhered, decide on your trim pieces (I used the faux flowers). I thought it was helpful to start with the greenery. It covered a lot of my gluing sins and is much less expensive than the large flowers. Add the flowers last and any accent greenery pieces that you might want to hang a bit lower on the hoop.
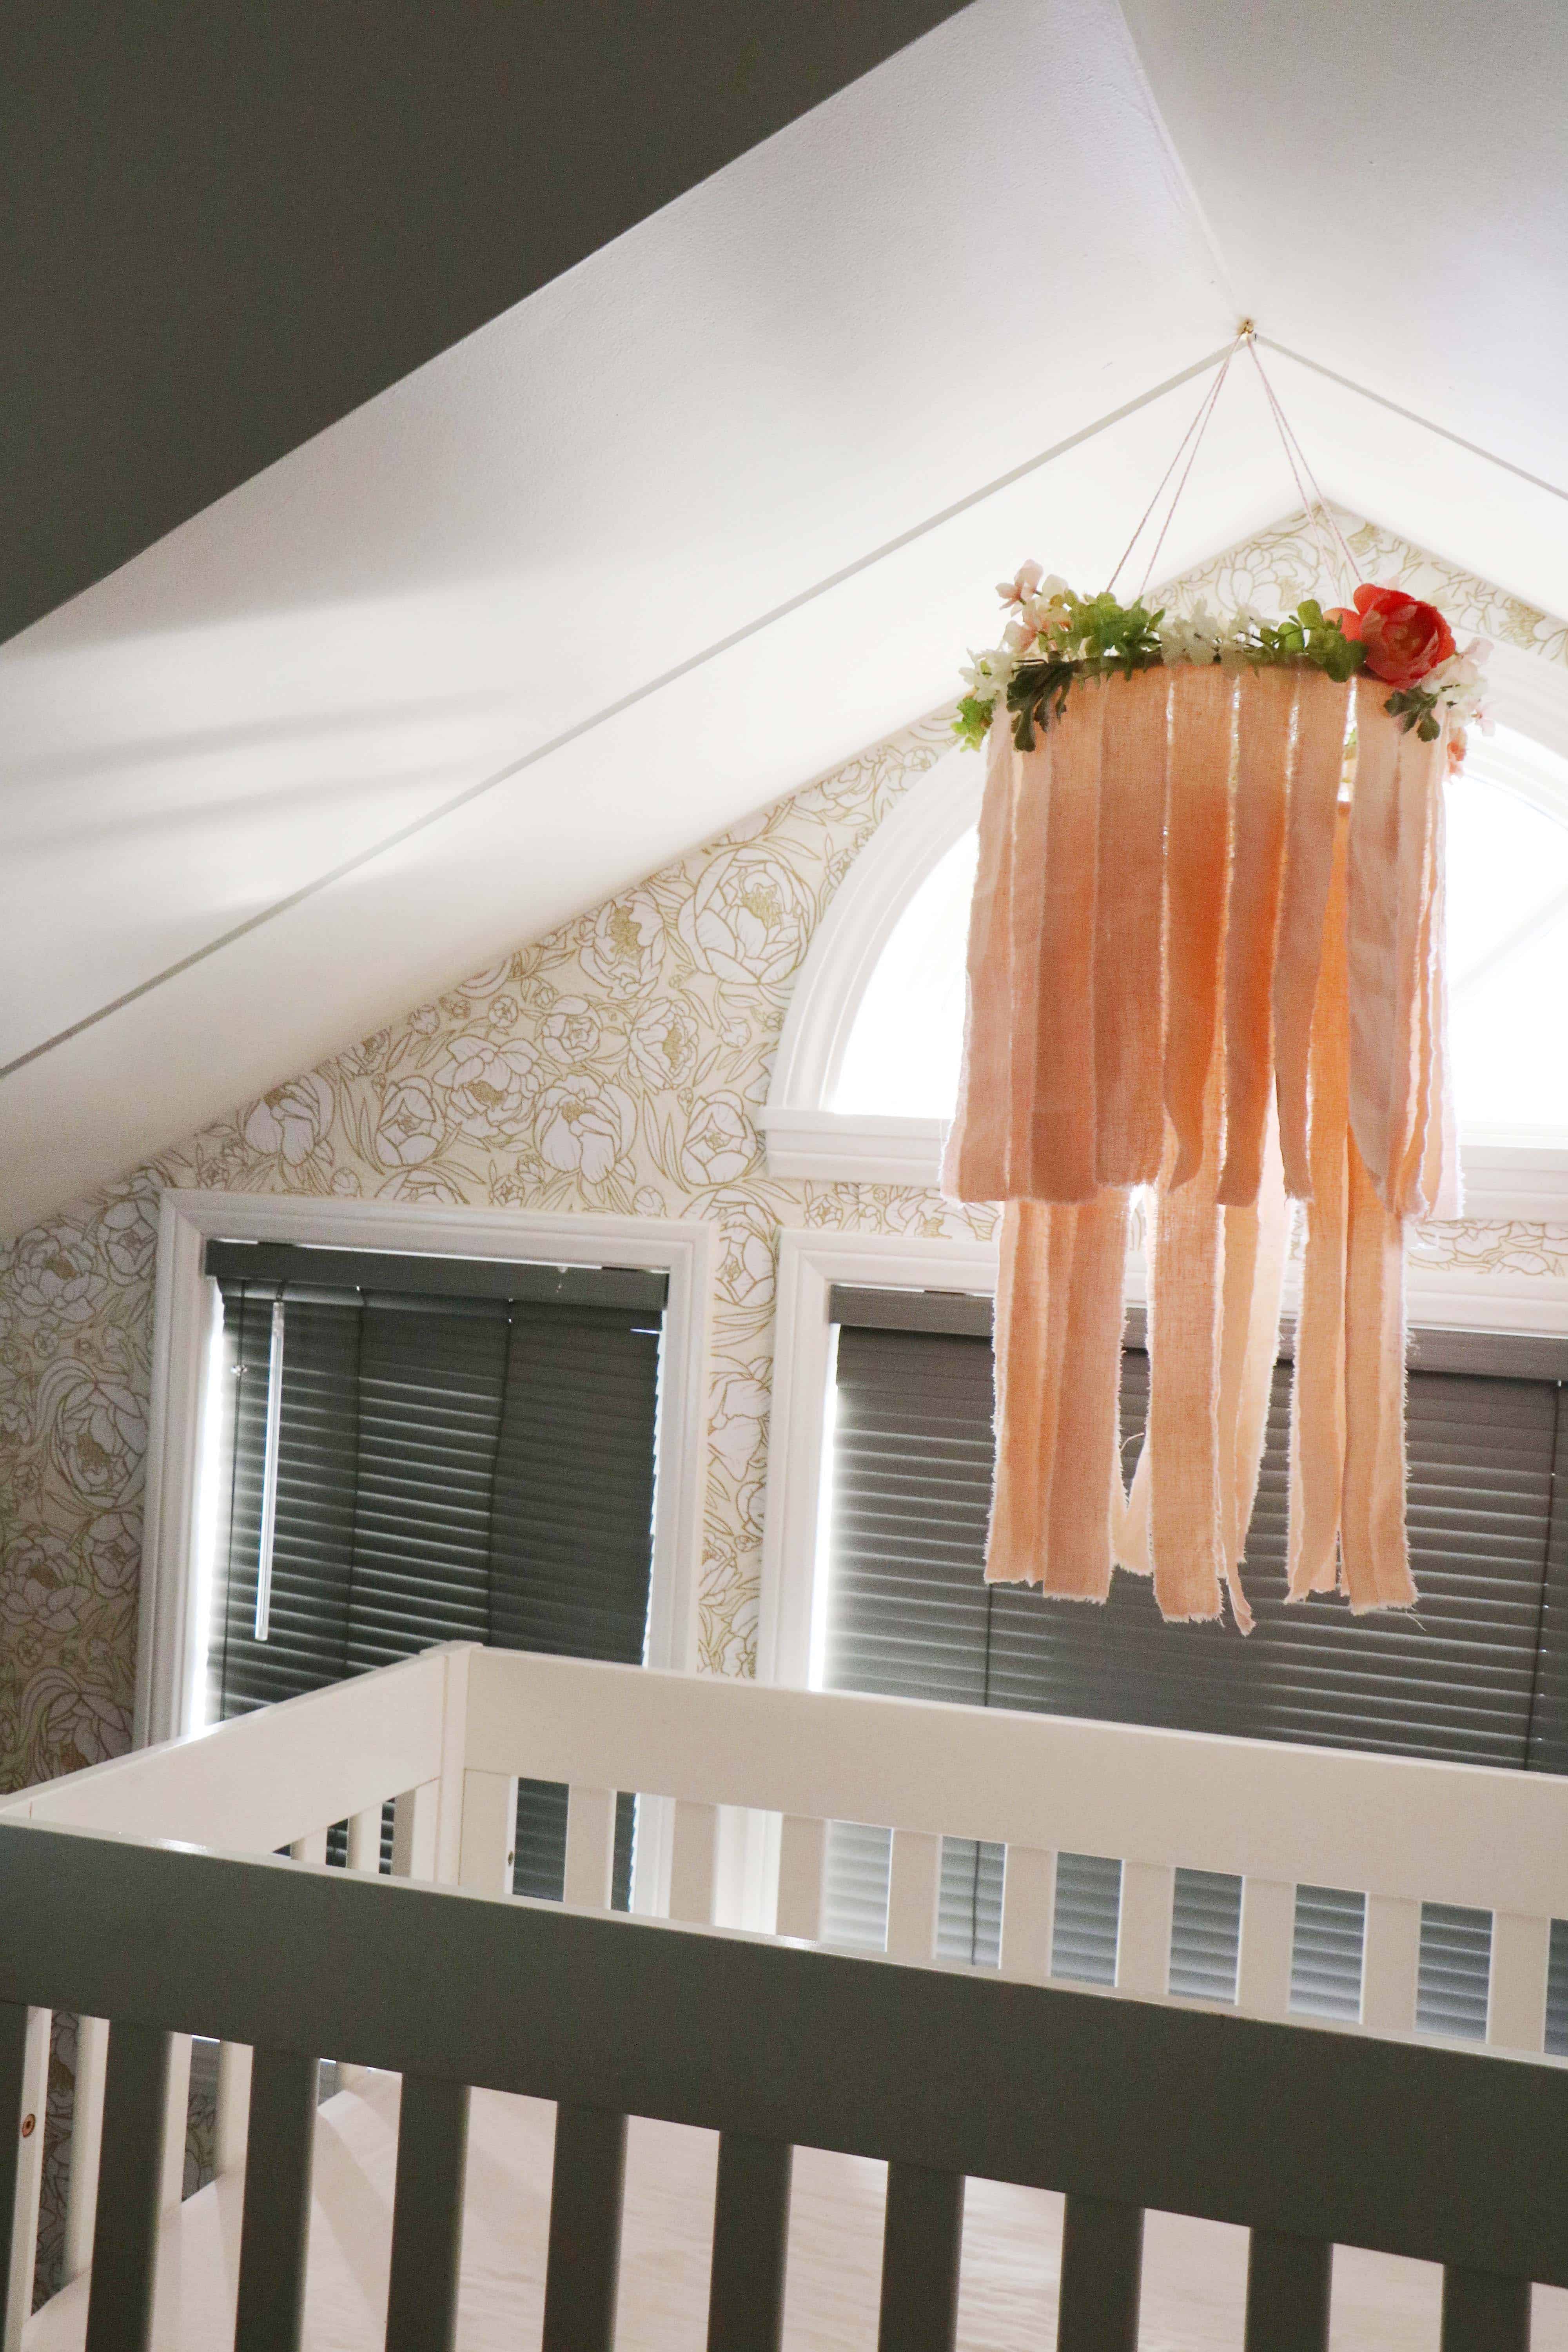
That’s it! I hung mine from the ceiling using c-hooks. It makes it really easy to move around (if you’re planning on using for a nursery or party decor).
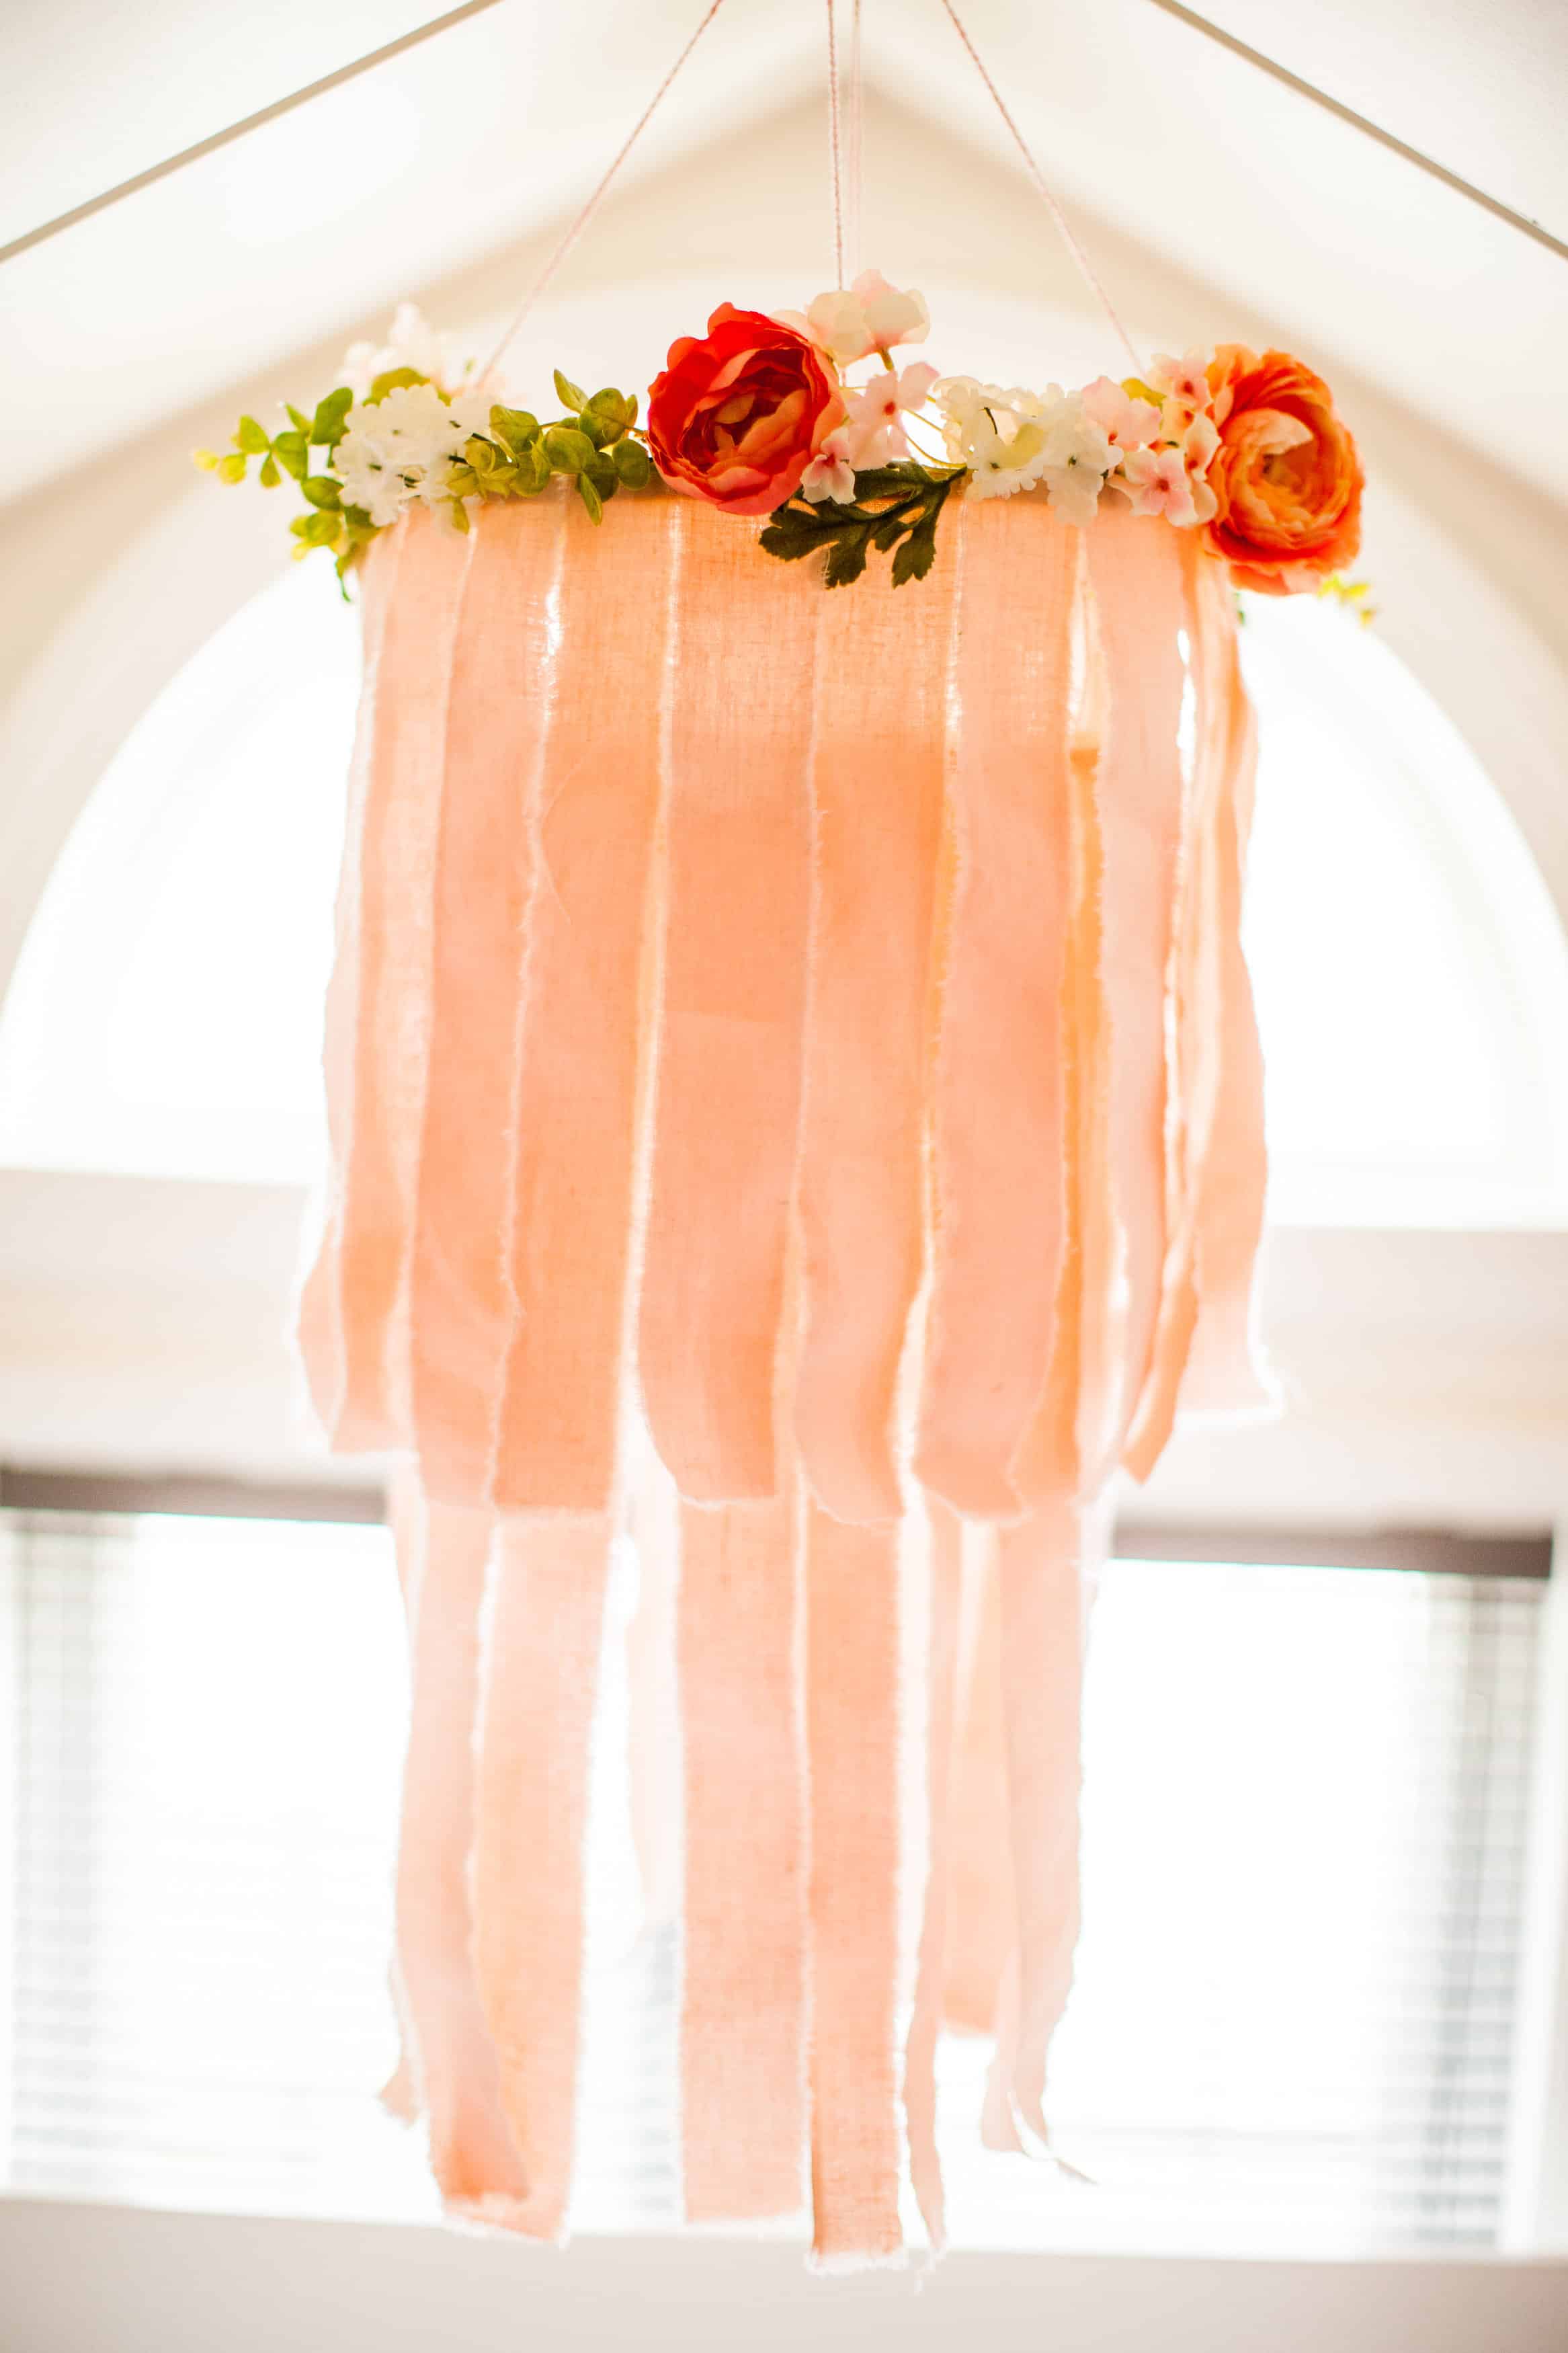
*Last photo courtesy of Kendra Maarse Photography
Love all your diy projects! Your so very crafty!
Love u ❤