I finally, finally finished the sideboard and carried that sucker inside the night before we left for our NYC/NJ/Boston adventure. I thought I would hammer out aaalll the dirty details for your reading pleasure. The pictures are super close up since I’m still working on getting my zoom lens fixed. I was working with dark conditions + 50 mm lens. I knew you wouldn’t mind, so let’s go.
Back to the beginning…I found this gem on Craig’s List after months of searching for a china hutch that was not too big, not too tall, not too ornate. Picky, picky, I know. I paid $200 which is WAY more than I usually would shell out for one of my thrifty finds but it fit all of my crazy specifics and I was ready to cross something (anything!) of my house to-do list. I couldn’t even find anything retail that hit all my wish list items under $3000. Matt hauled my prize home for me on Father’s Day after braving the Koreatown Home Depot for a rental van. Which as an aside, if you’re in the market to have any heavy lifting done or other crazy projects completed, I highly recommend getting pregnant. Husbands have a way of just arriving at every lady’s favorite saying “yes, dear” a lot quicker with a bun in the oven. Just my anecdotal experience so proceed with caution of course. ![]()
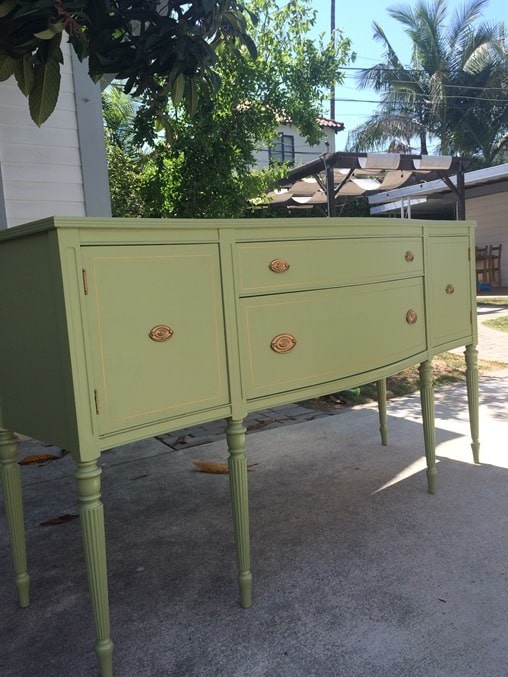
The previous owner of the sideboard had juuust finished painting it with a bright apple green paint. Which she so kindly included “in case we needed to do any touch ups”. It was nice to have the paint and know it was low voc/latex paint, it actually came off relatively easily. The picture below makes it look a much more muted green but I can assure you, it was bright.
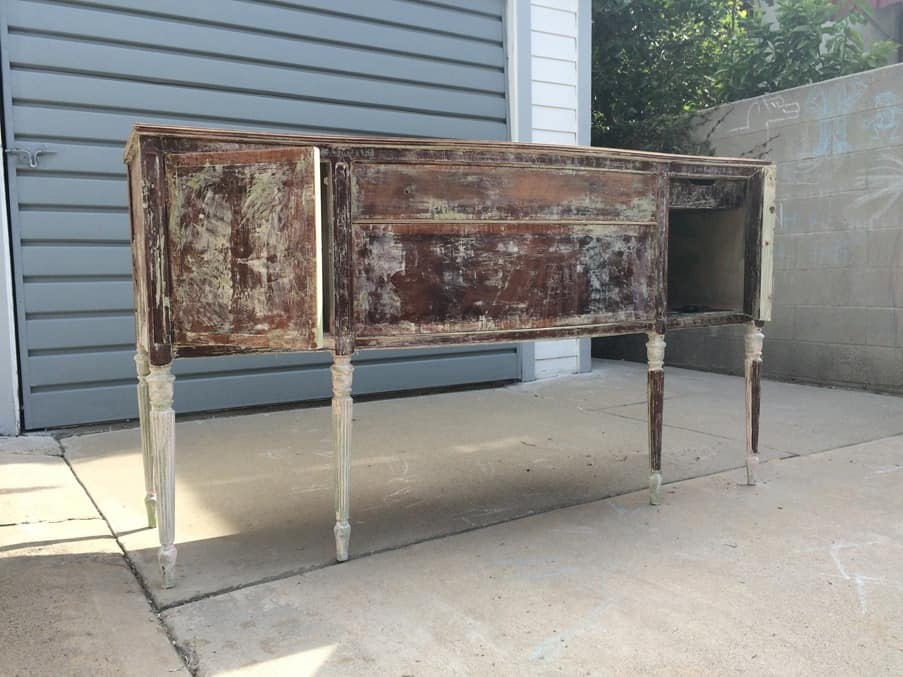
I used the heat gun for the annoyingly intricate parts of the legs. Worst part of the job. It seriously took me like 2 hours per leg. I really wish that she hadn’t painted the inside of the cabinets. I would have preferred to leave them the natural wood but I just could not get them stripped down enough to leave them. They were a nightmare. They’re not even close to perfect, which pains me a little. But I am just going to let it go.
DIY tip: if you’re looking to refine the perfectionism out of your life, I can highly recommend having a few tiny children close together. They’ll hone that right out of your personality, real quick like. So I painted the inside of the cabinet too and added wool felt to the bottom before stacking up our dishware.
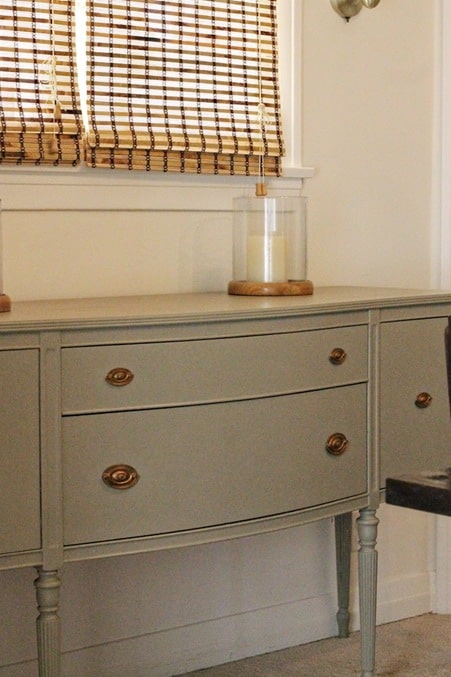
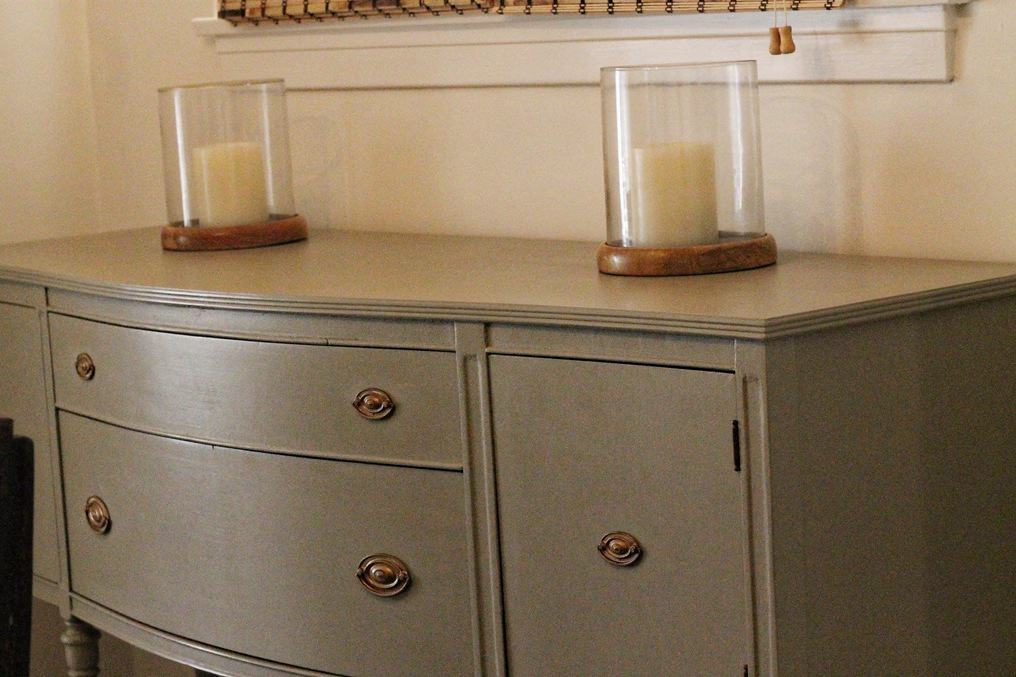
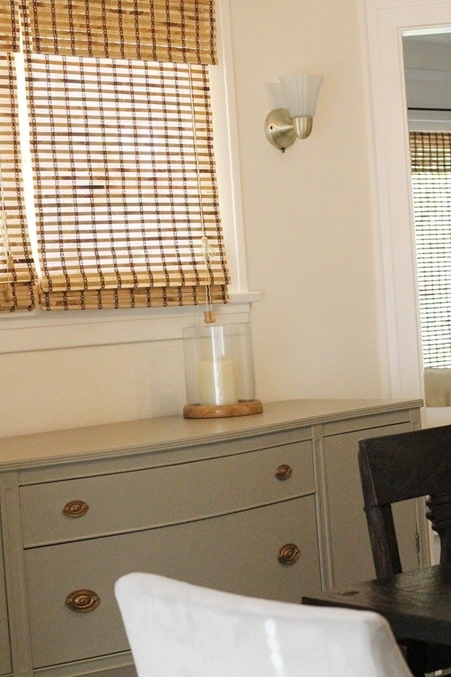
I finally sanded it all smooth and got to painting, which is my favorite part. I used Benjamin Moore in Gettysburg Grey + a good pour of Floetrol to keep the brush marks away. The true irony here being that Gettysburg Grey has a slightly green undertone. So even with all that sanding and scraping, we’ve still got a little green going on.
I decided to seal it with clear wax, per Kate at Centsational Girl recommendation. It was my first foray with the wax but I loved how easy it was to apply and the finish is matte but repels liquids. Happy camper here!
Whew, here she is in all her glory. Again, super grainy close up pictures but you get the idea!
We have finally loaded up our china that we have hauled around the country for eight(!!) years. One thing of the to-do list. One million to go.
Well, this looks so good I’m going to have to come out there ad see it myself!