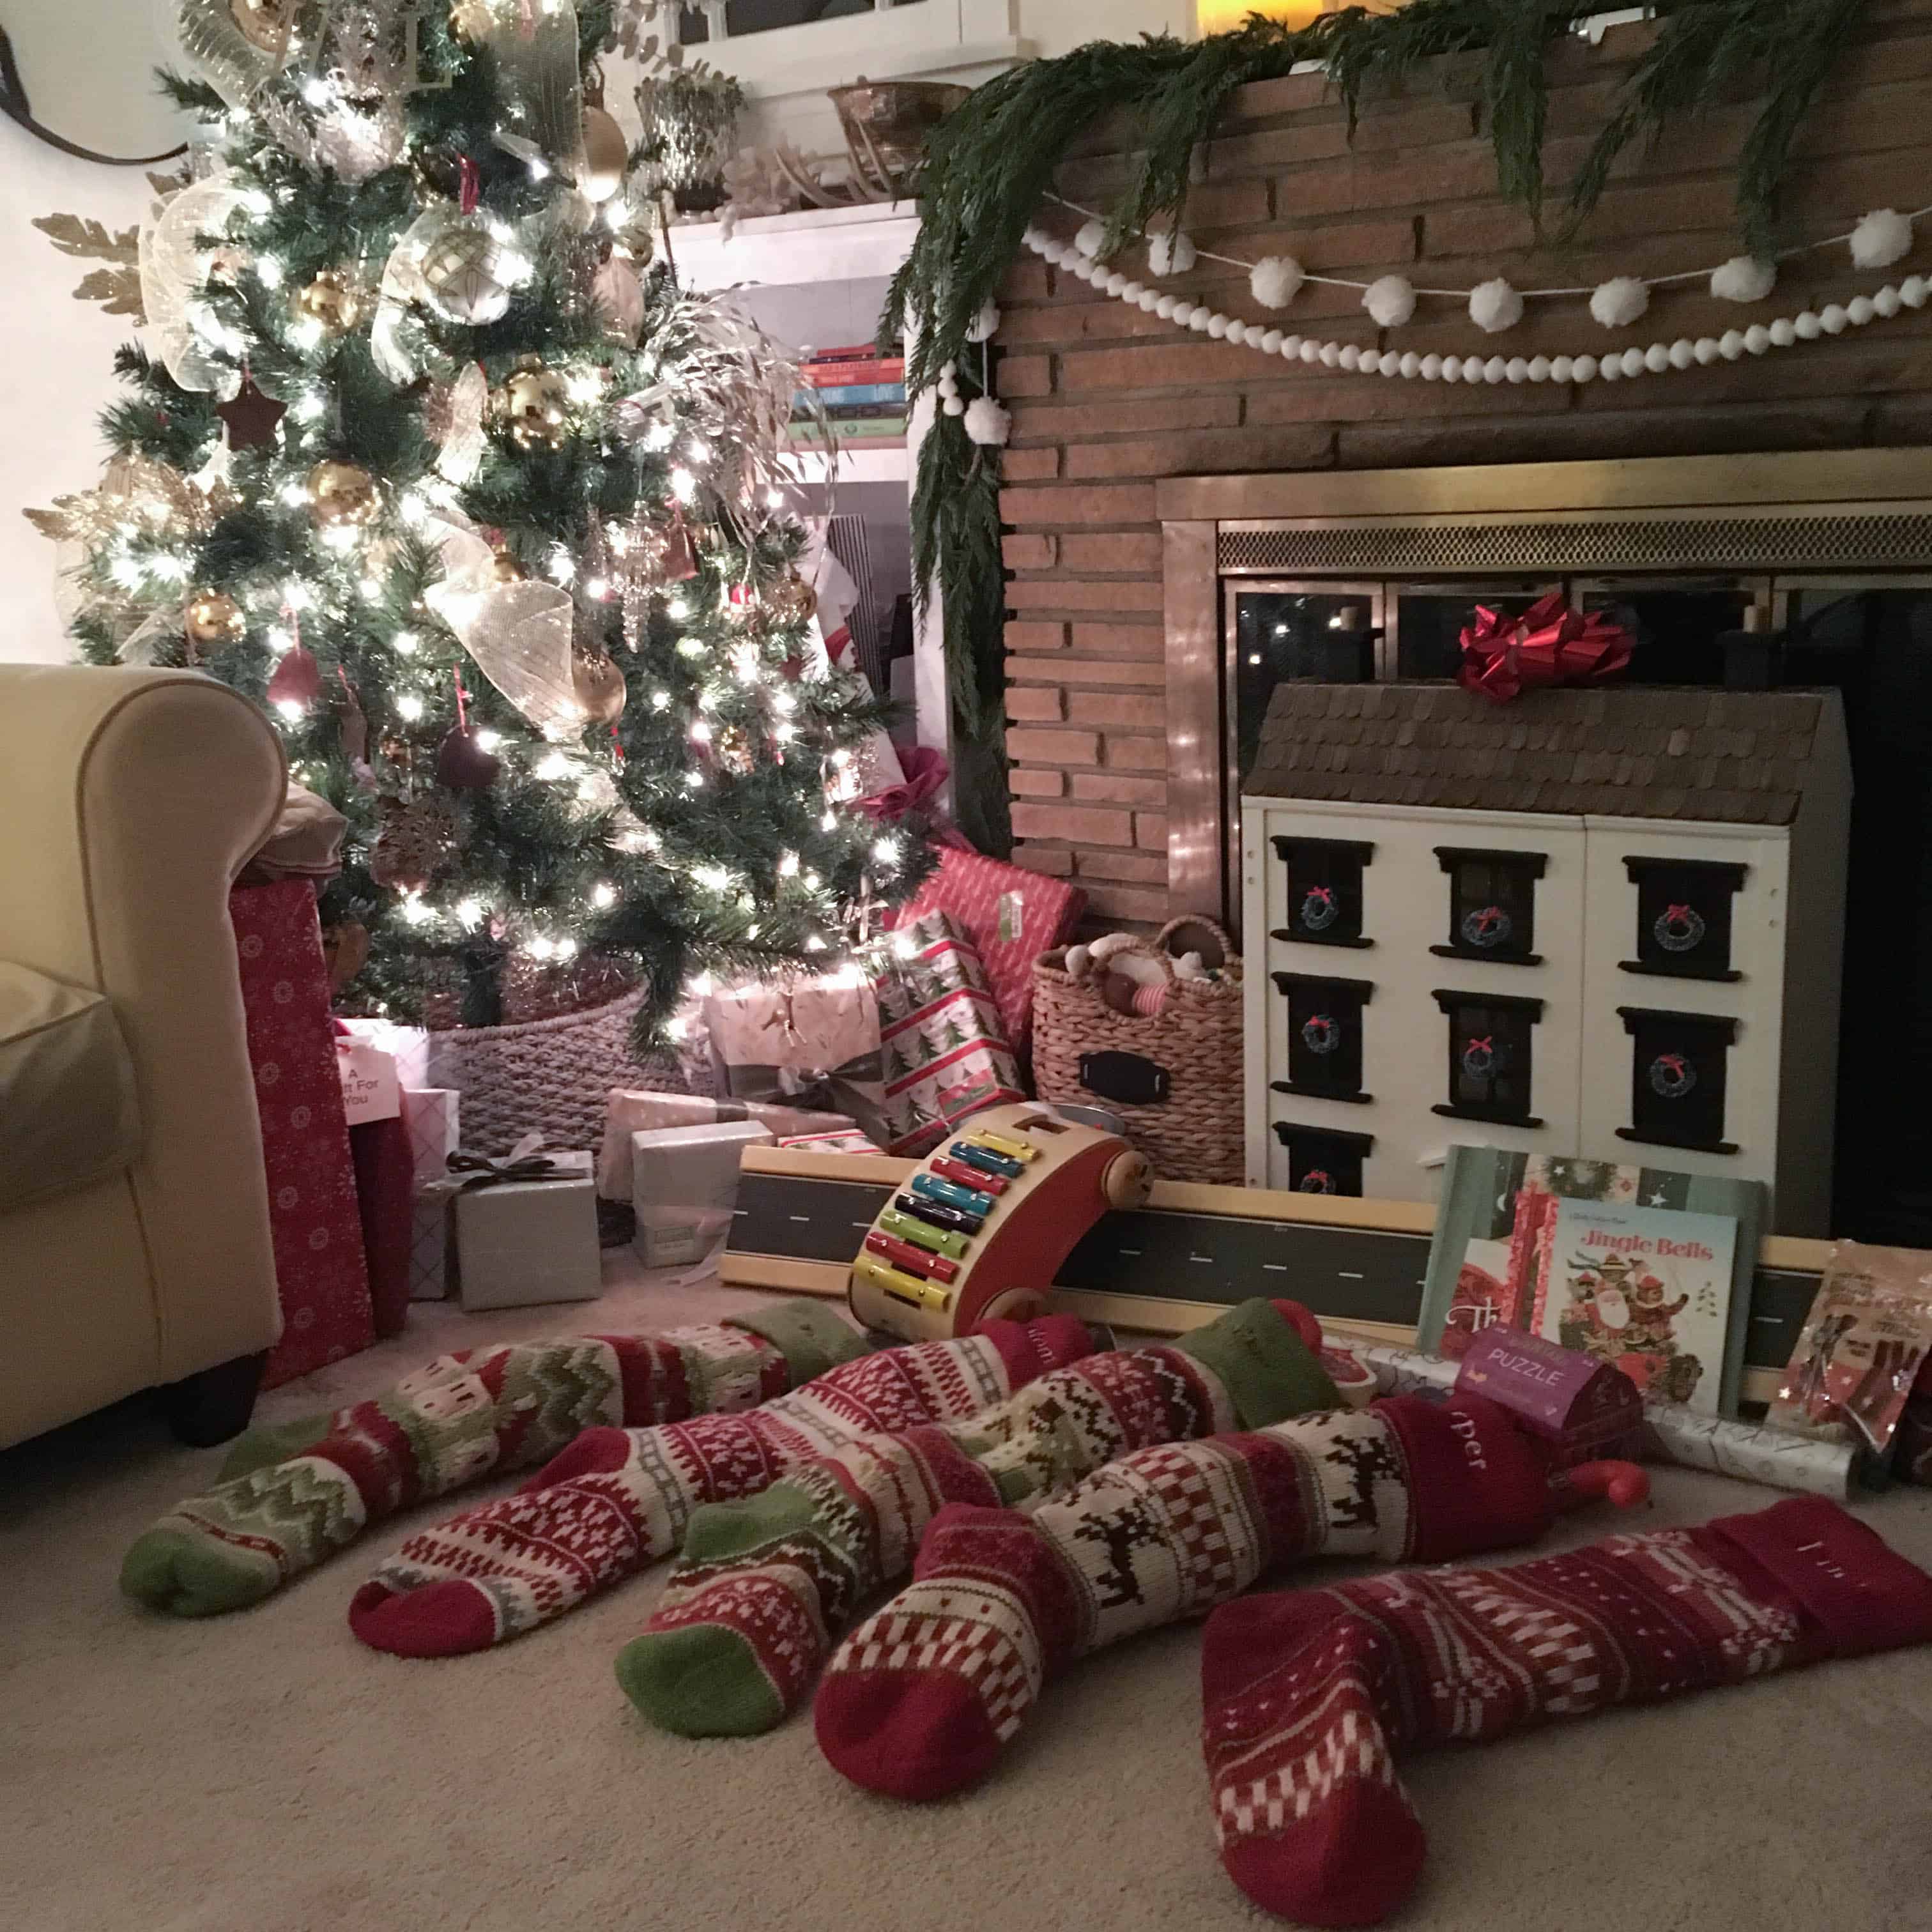
Well Santa has come and gone and I can safely say that the dollhouse was a hit! The big kids love it and Lucy loves terrorizing them by chucking all of the dolls and furniture out when they’re not looking. So it’s currently being store up and away from the tiny baby-zilla.
In case you were in the market to take on your own dollhouse project, I thought I’d document the how-to right here. Before we get started I’d like to make a note, this is an easy project but time consuming so proceed with caution if you are not a project person (or just plain crazy, like moi). About four hours into the re-do I was seriously wondering why I didn’t plunk down the $400 for the completed house at PBK.
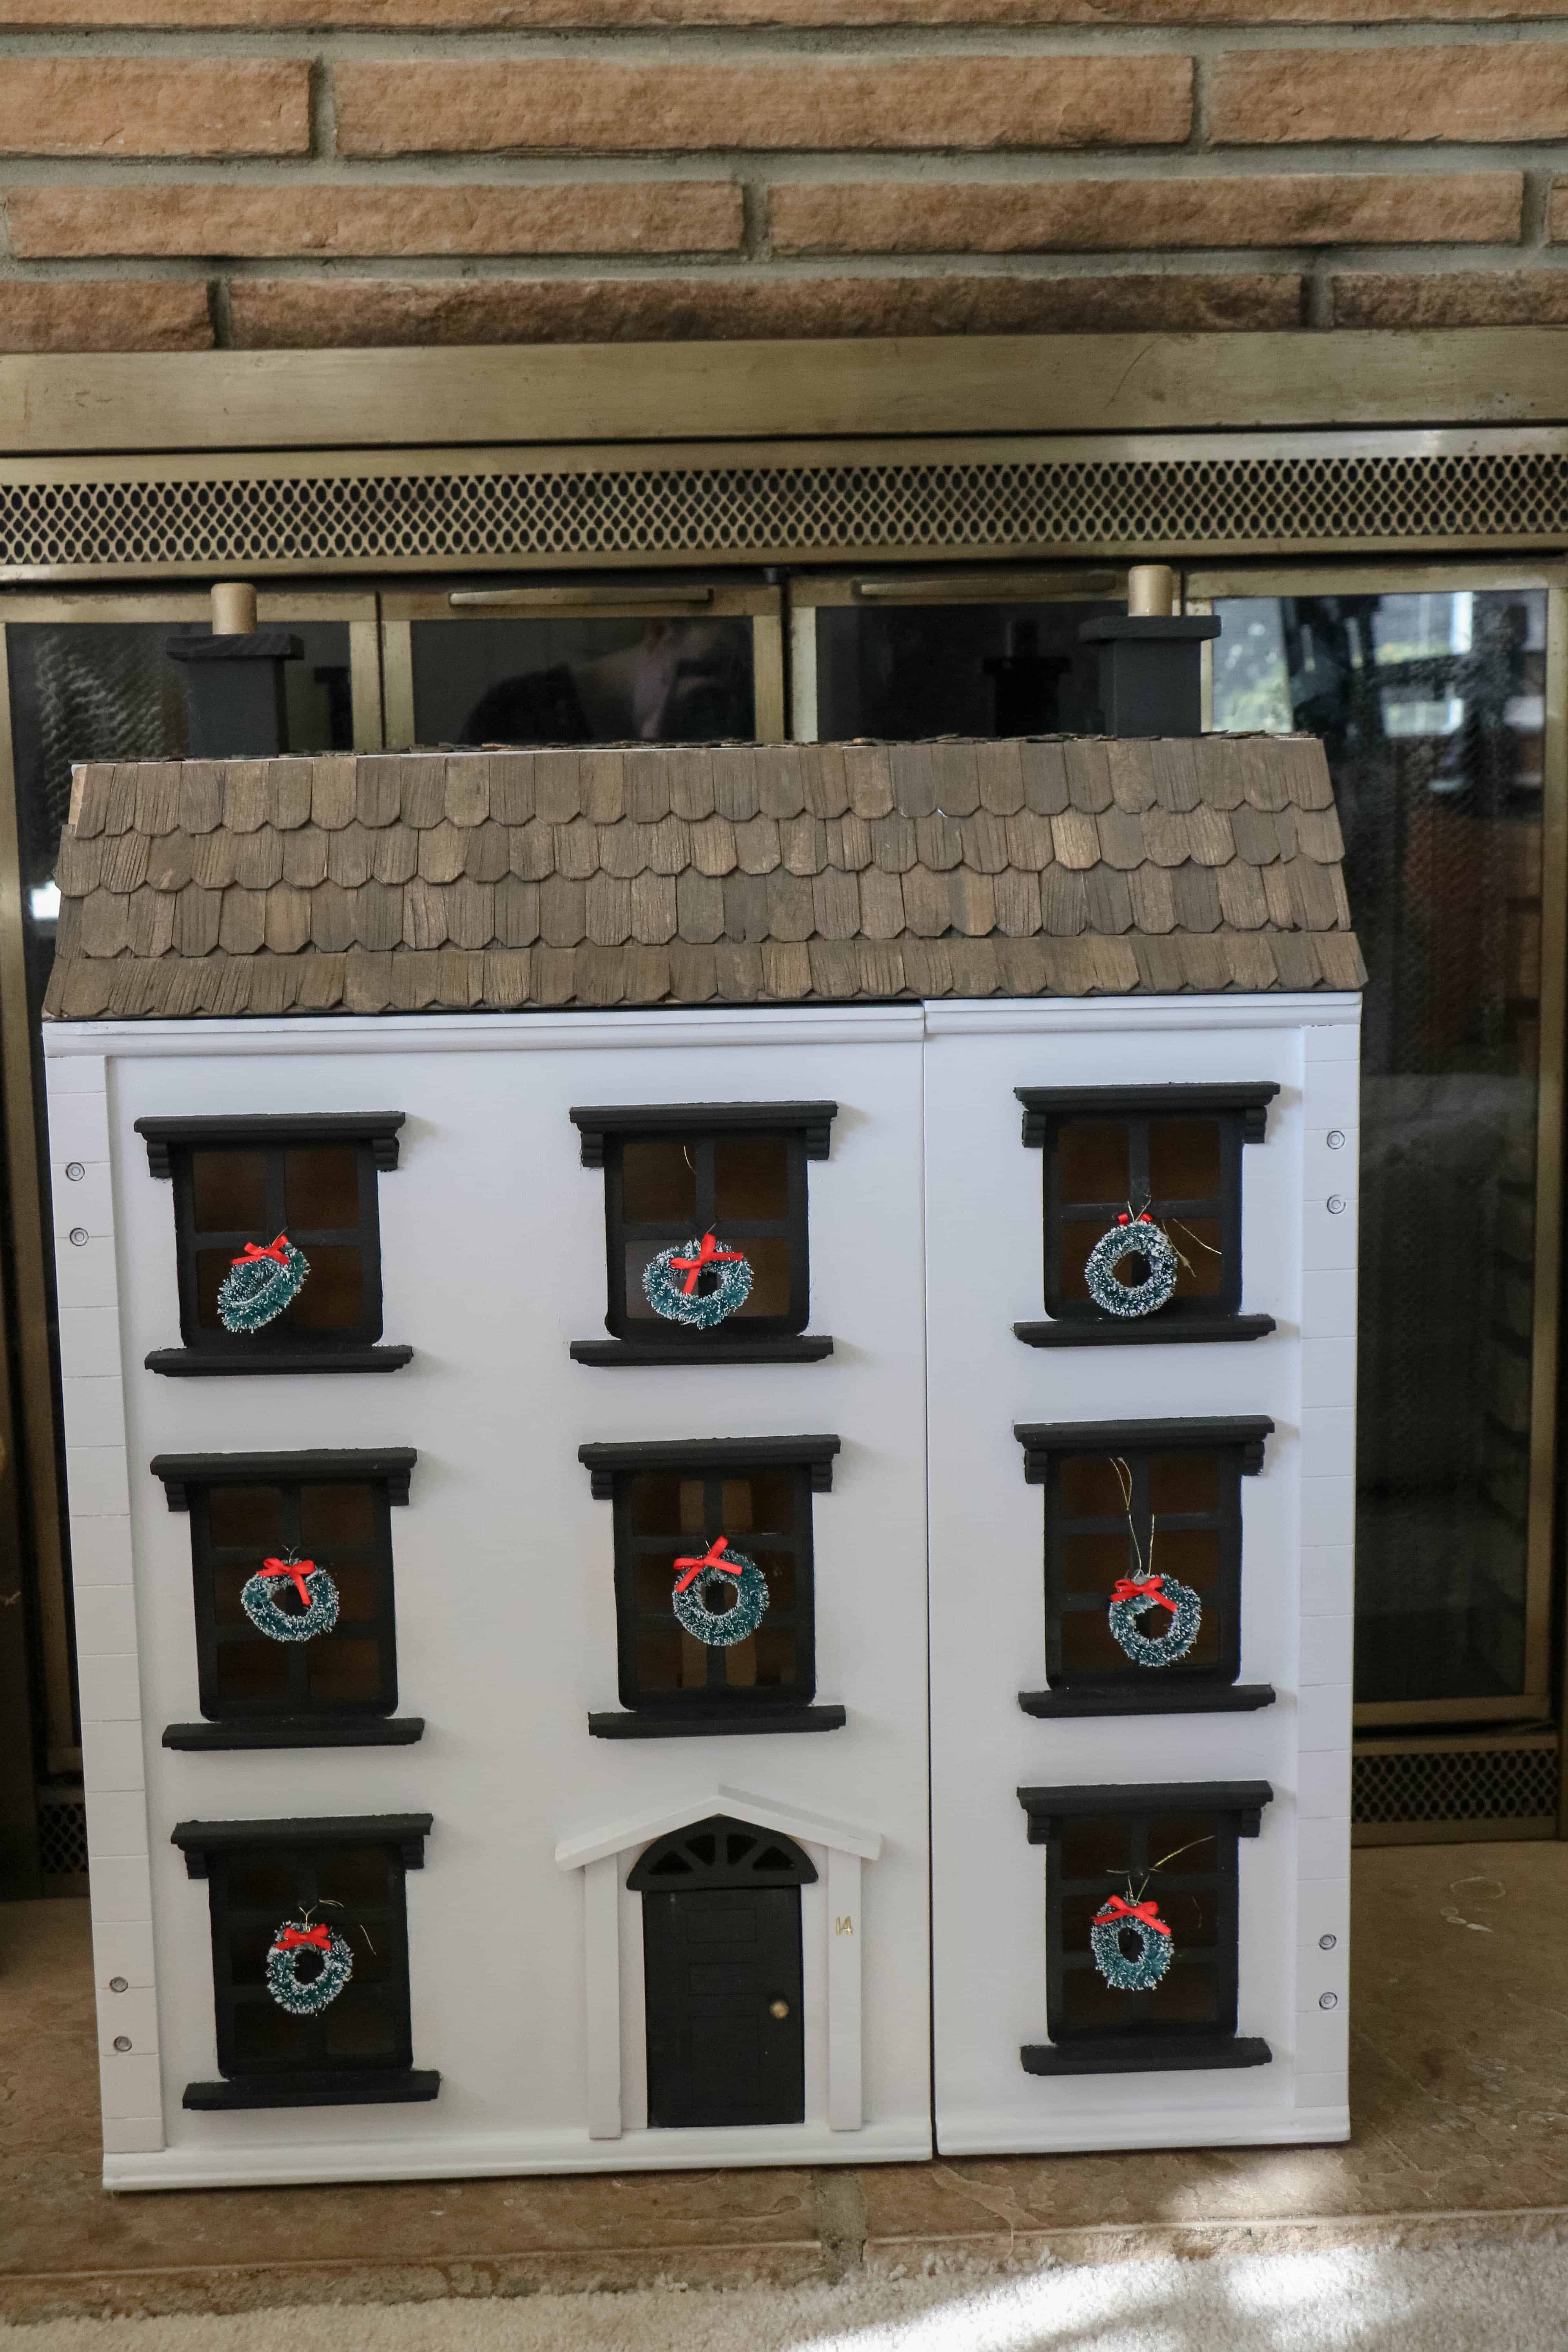
So, let’s recap. I bought the blank slate dollhouse on Craig’s List for $25. After a quick internet search, I did indeed get a deal which makes my cheap little heart sing. This was one that most closely resembles our house and it was over $100! Since the house was just plain balsa wood I really wanted to make it special for the kids (ok, and me) and I loved the look of the ones at PBK with the real shingles.
I bought a bag of shingles at Hobby Lobby for around $6 and then set out staining them. The easiest way I found to stain them was to use painters tape to hold them down. So pull out three long strips of tape (sticky side up) and stick the shingles to it. Then get to staining them to your favorite color.
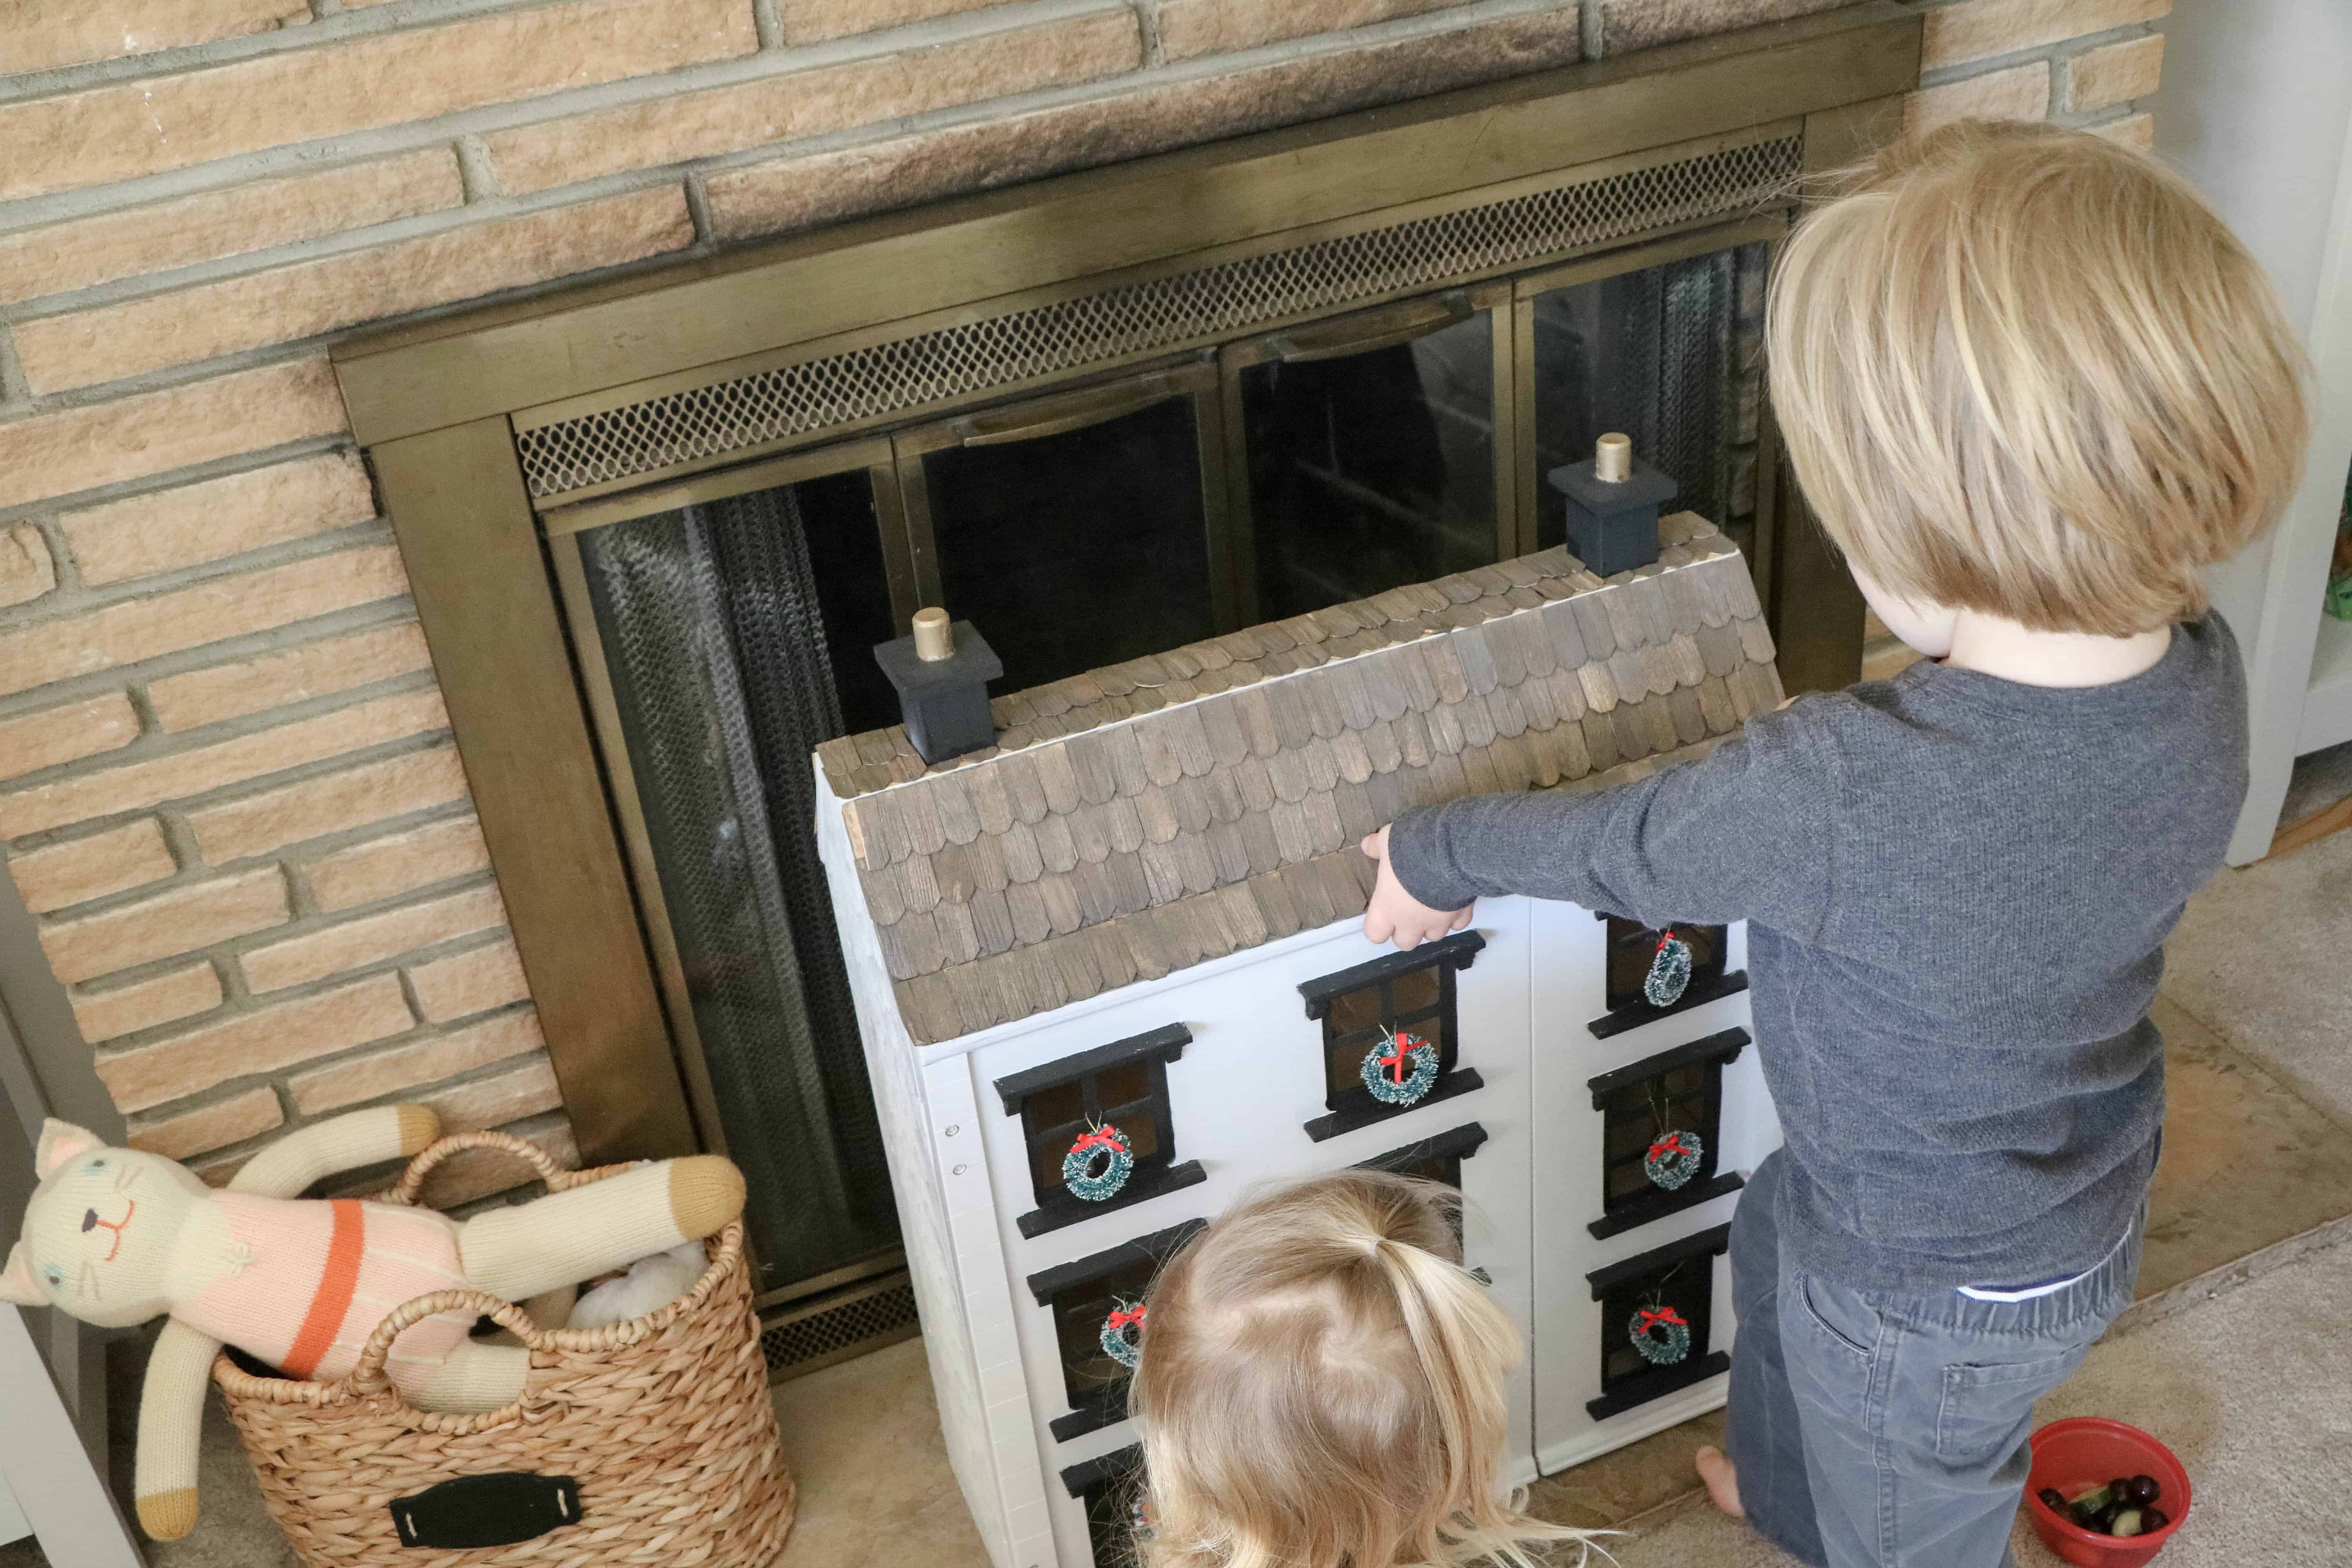
Since the shingles are real wood they had a nice variation when they dried. I laid out my shingle pattern before using Gorilla Wood Glue to secure the shingles which was essential. I wanted them very secure since my three and four year old are not going to be treating this with the heirloom respect it deserves. 🙂 The roof needs to be removed to open the dollhouse so I knew it would be getting a lot of use.
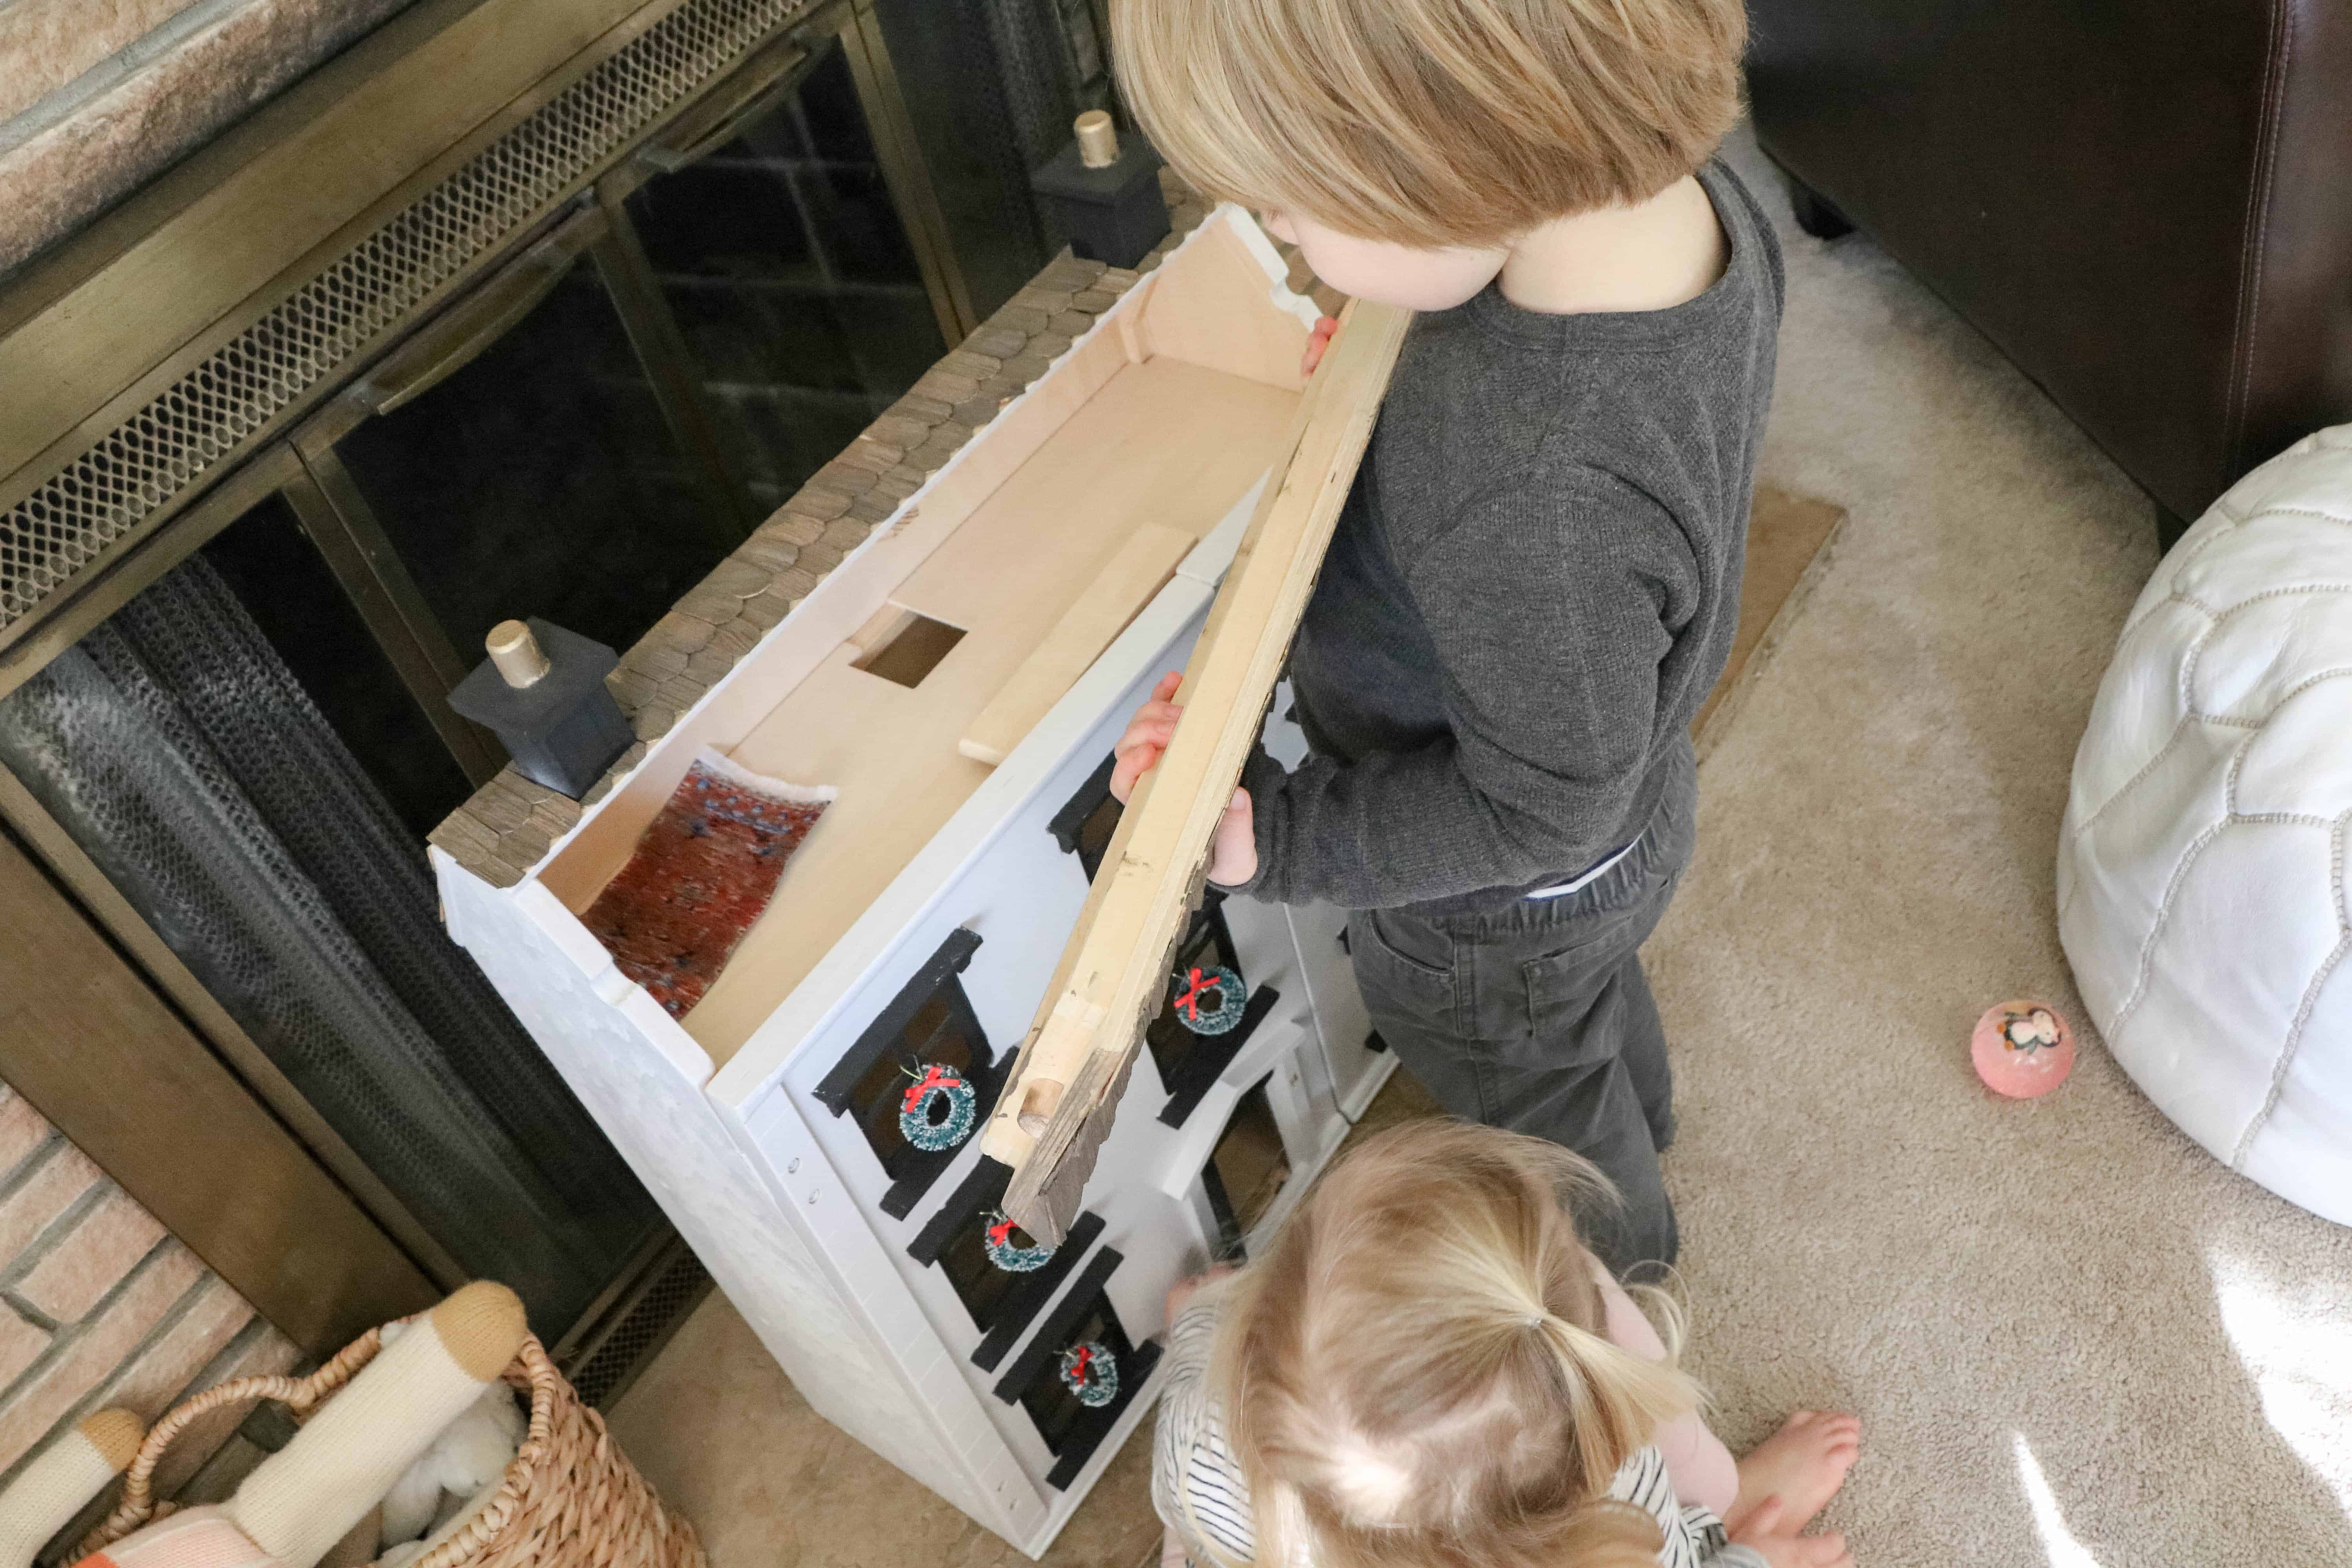
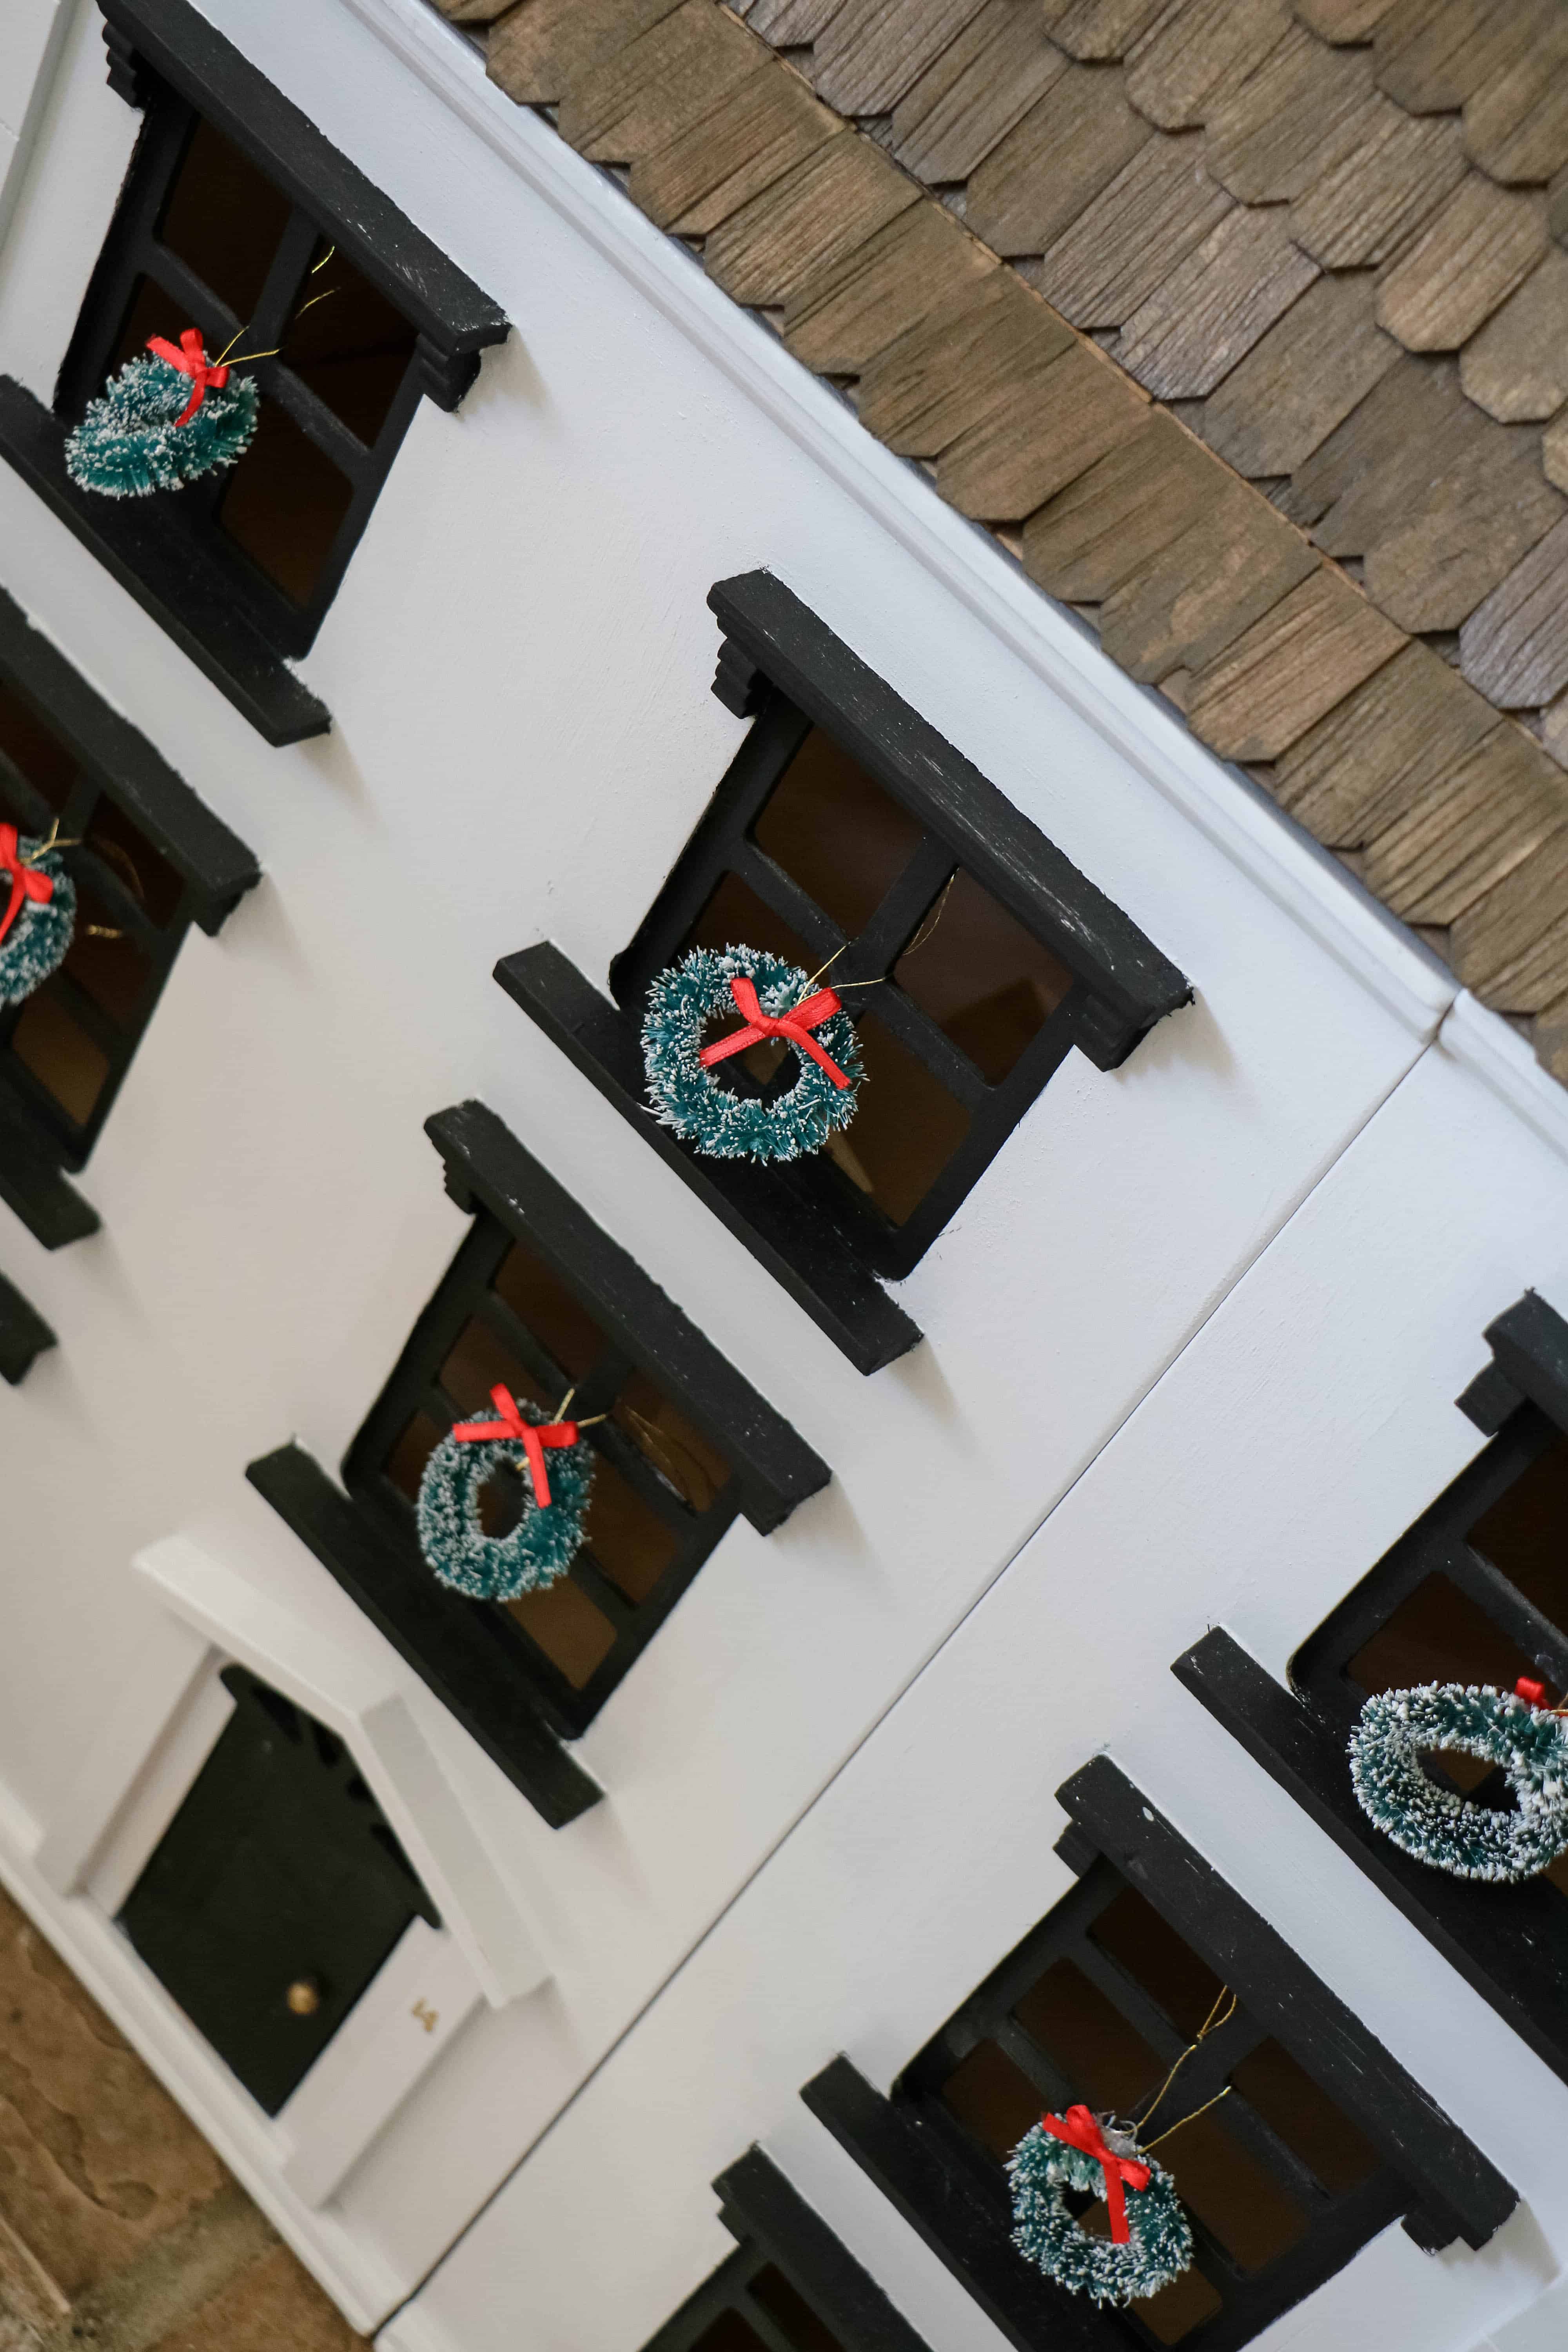
I really wanted black windows and doors on a white house so I taped around all of the windows and did a matte black (you can see I didn’t do an excellent job and there is some overspray in the interior but what can you do?!). It was a little tricky (more time!) to tape off all of the sashes since I decided to paint those black too. I also did the chimneys black with gold stacks because we fancy.
I briefly thought about doing some sort of brick overlay but Santa’s elf quickly nixed that idea just based on time and supplies needed. I mentioned this in my last post but there is this huge dollhouse hobby group on the internet. There are tons of tutorials on how to make siding, brick, stone, hardwood floors (basically everything) from like egg cartons and glue. These people are so skilled at making these tiny little miniatures of everything. I was impressed but had to accept my limited talent at the miniatures. If you’re interested, give it a Google.
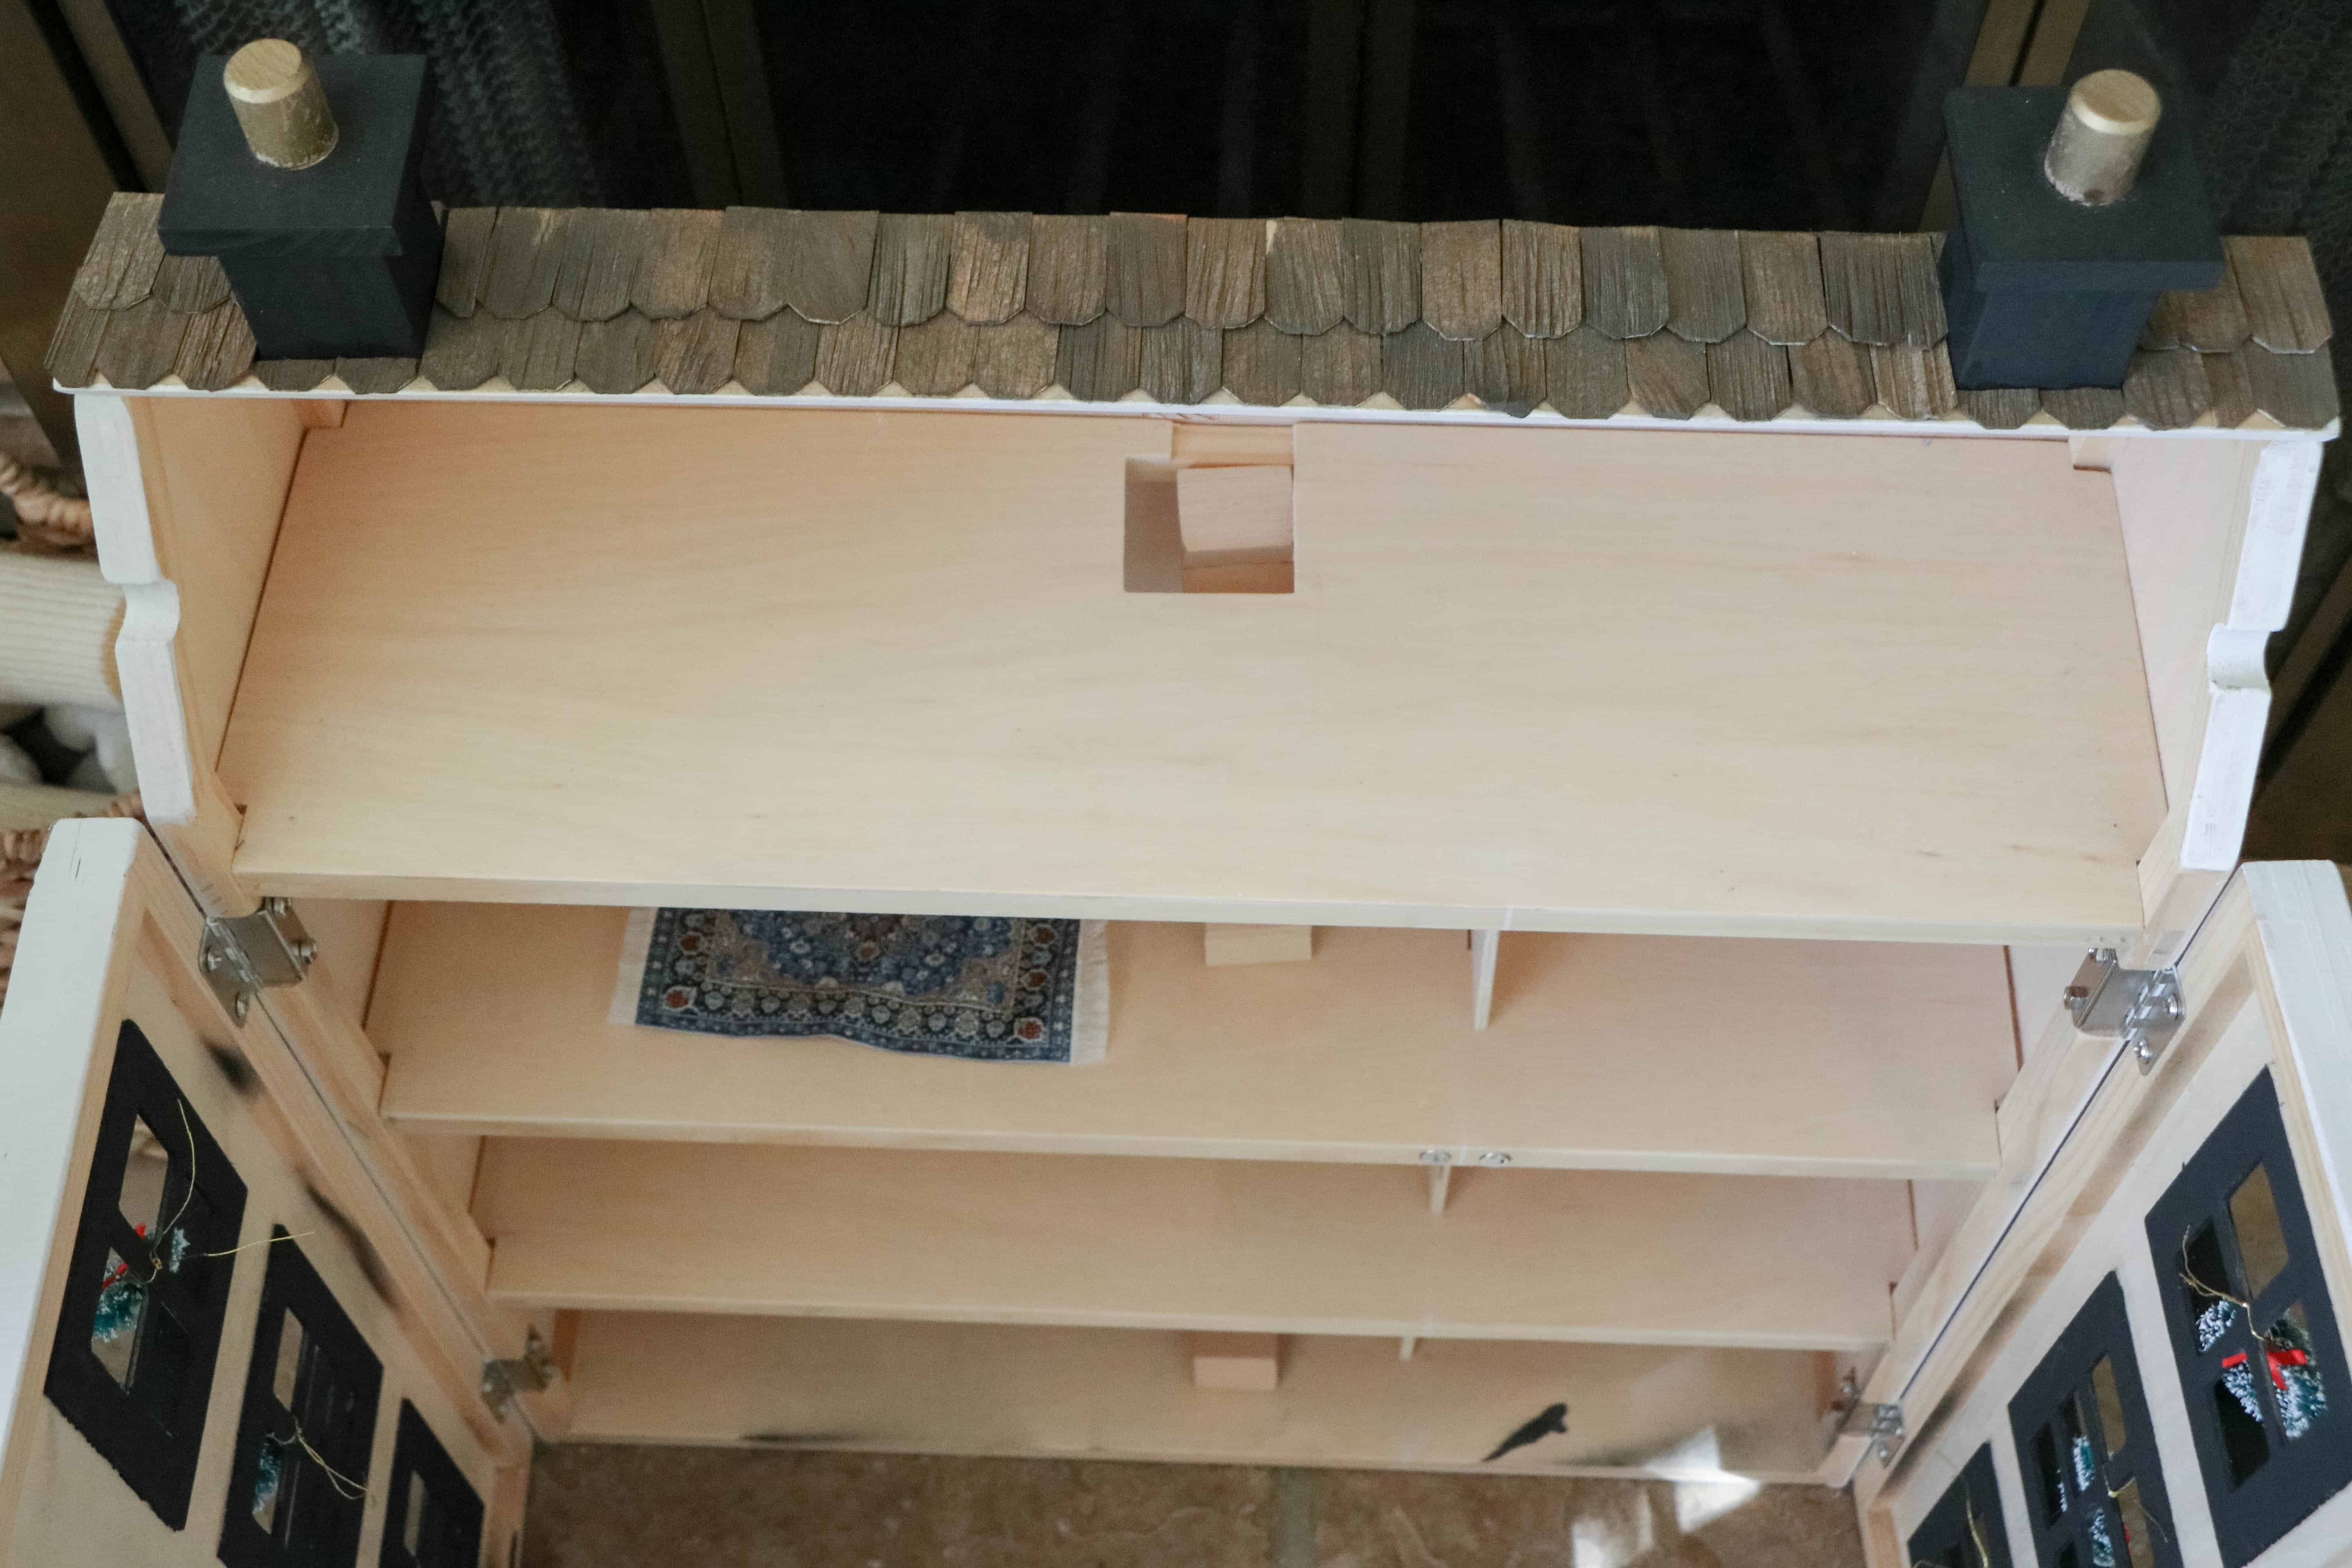
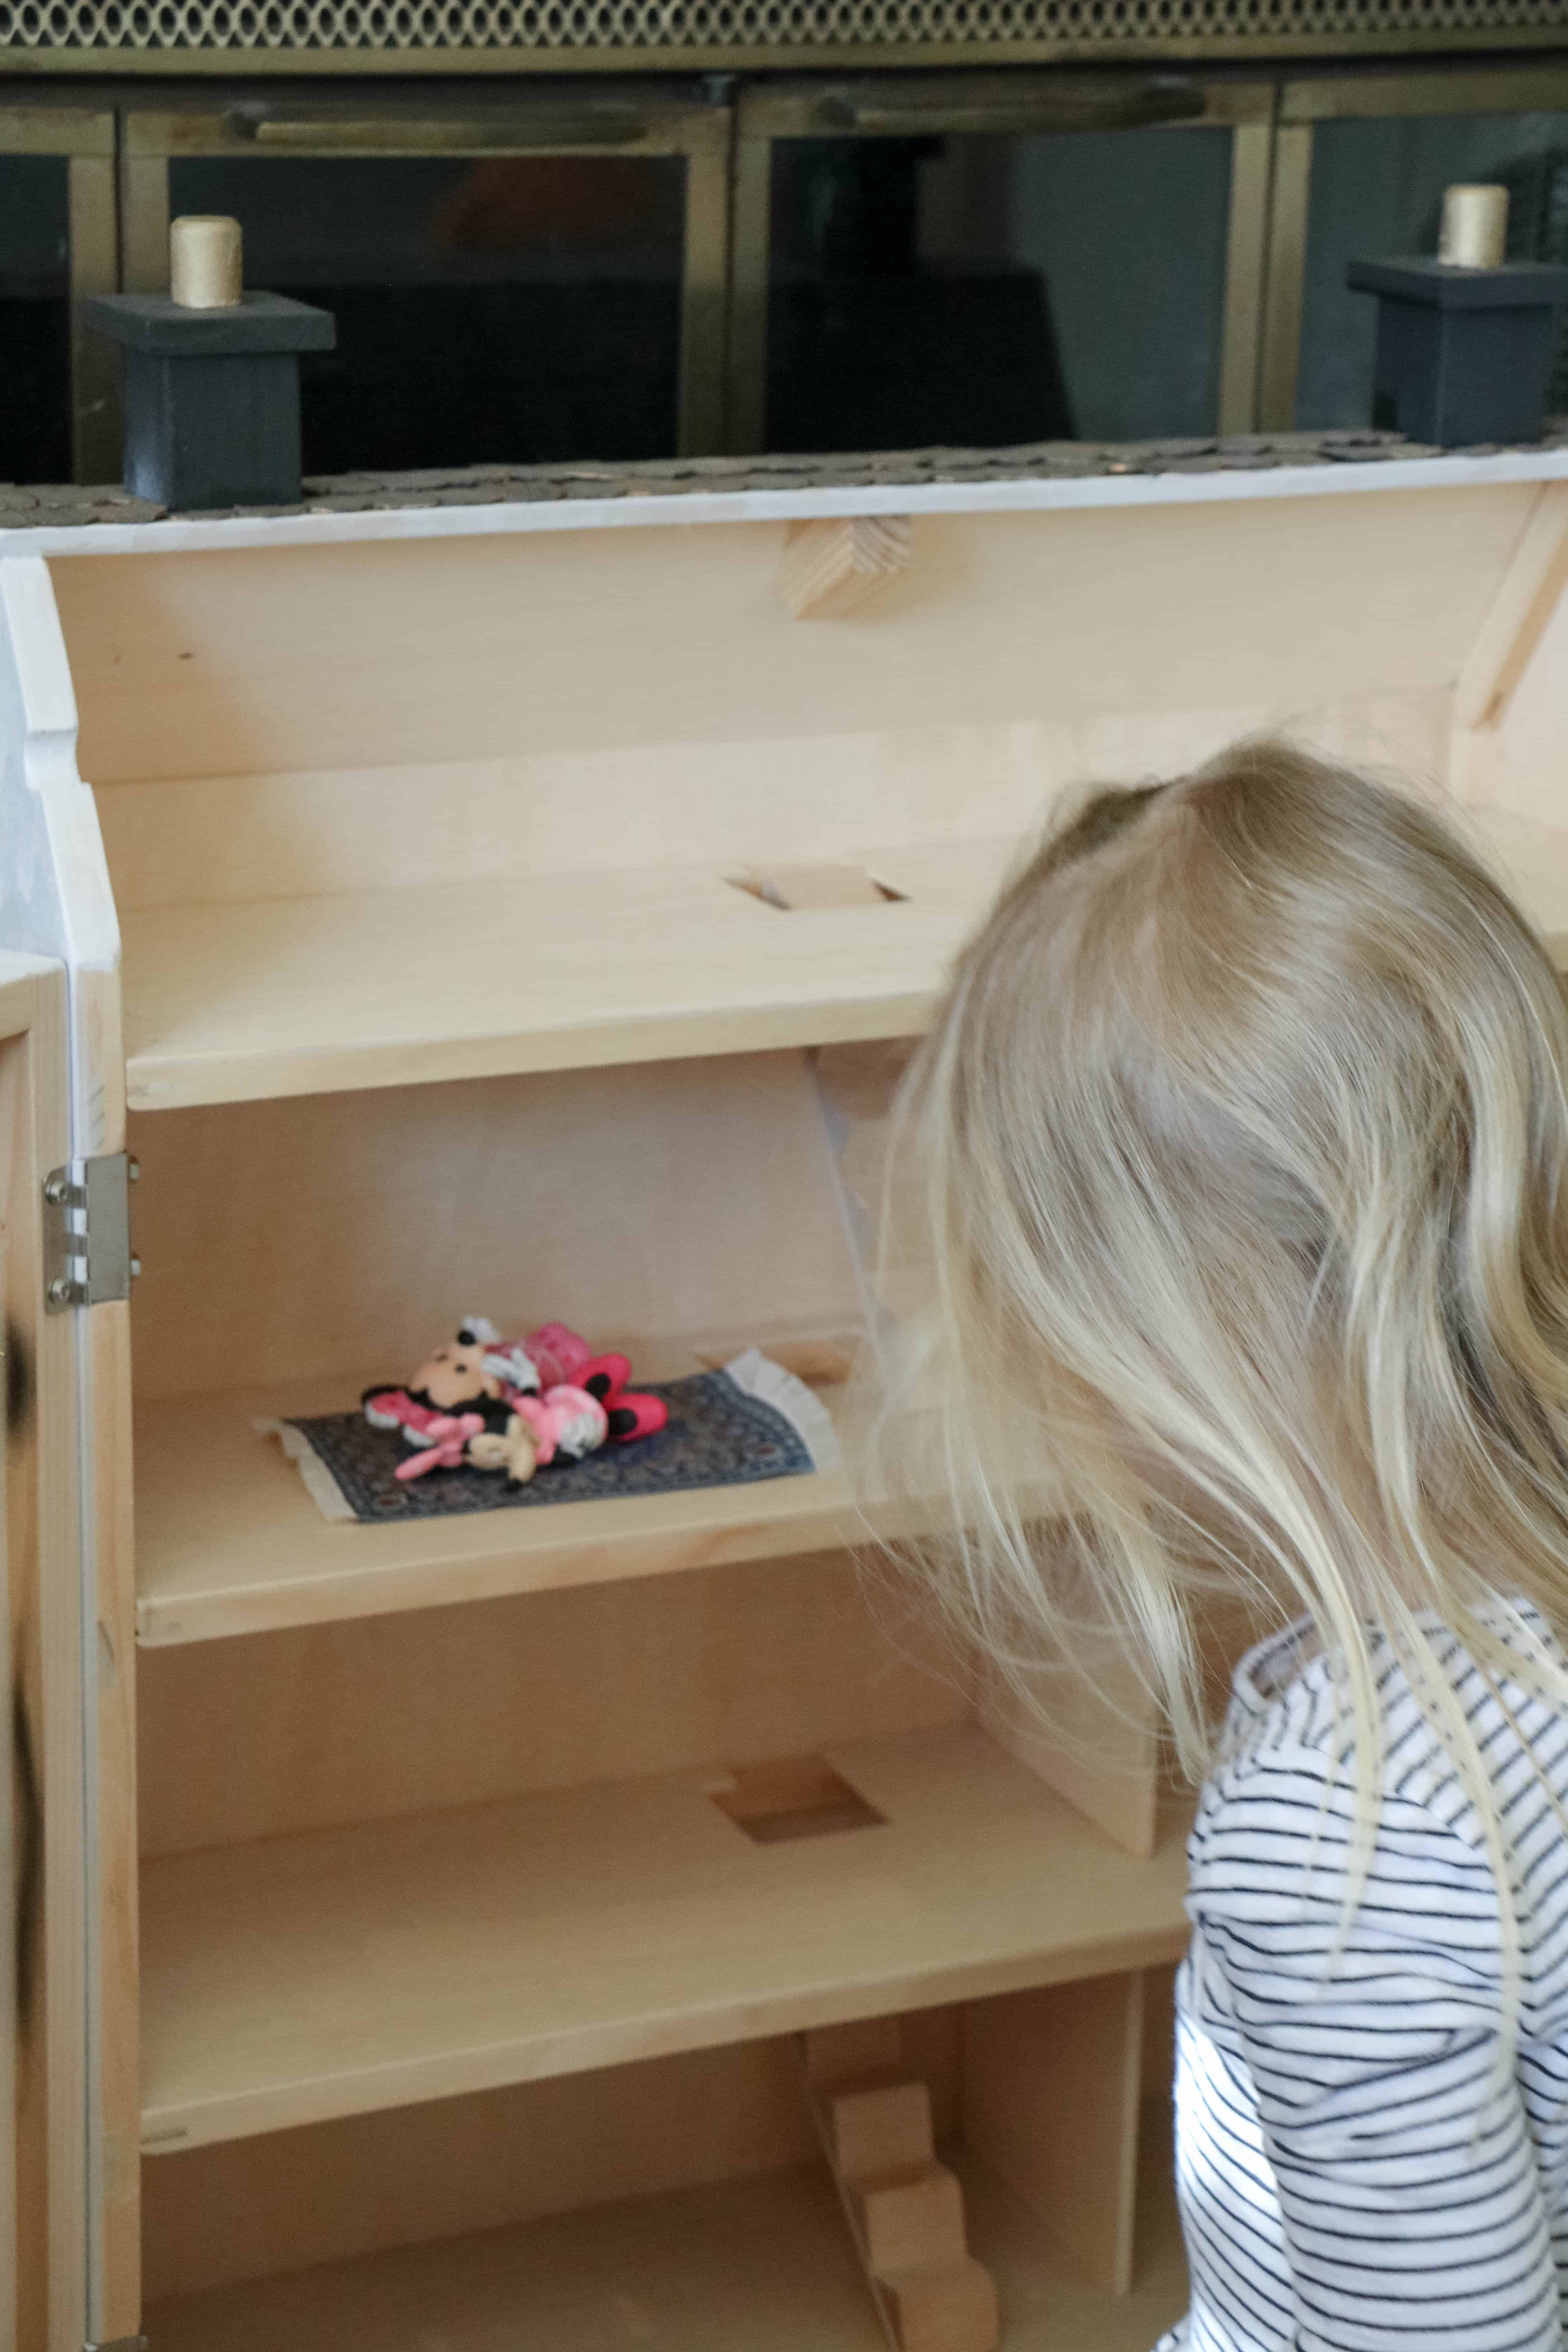
After the windows were dry, I used craft paper to cover them and sprayed the entire house with white spray paint. I did sand between coats since the balsa wood was a little rough and I wanted a smoother finish. I probably could have done an additional coat but time was not on my side.
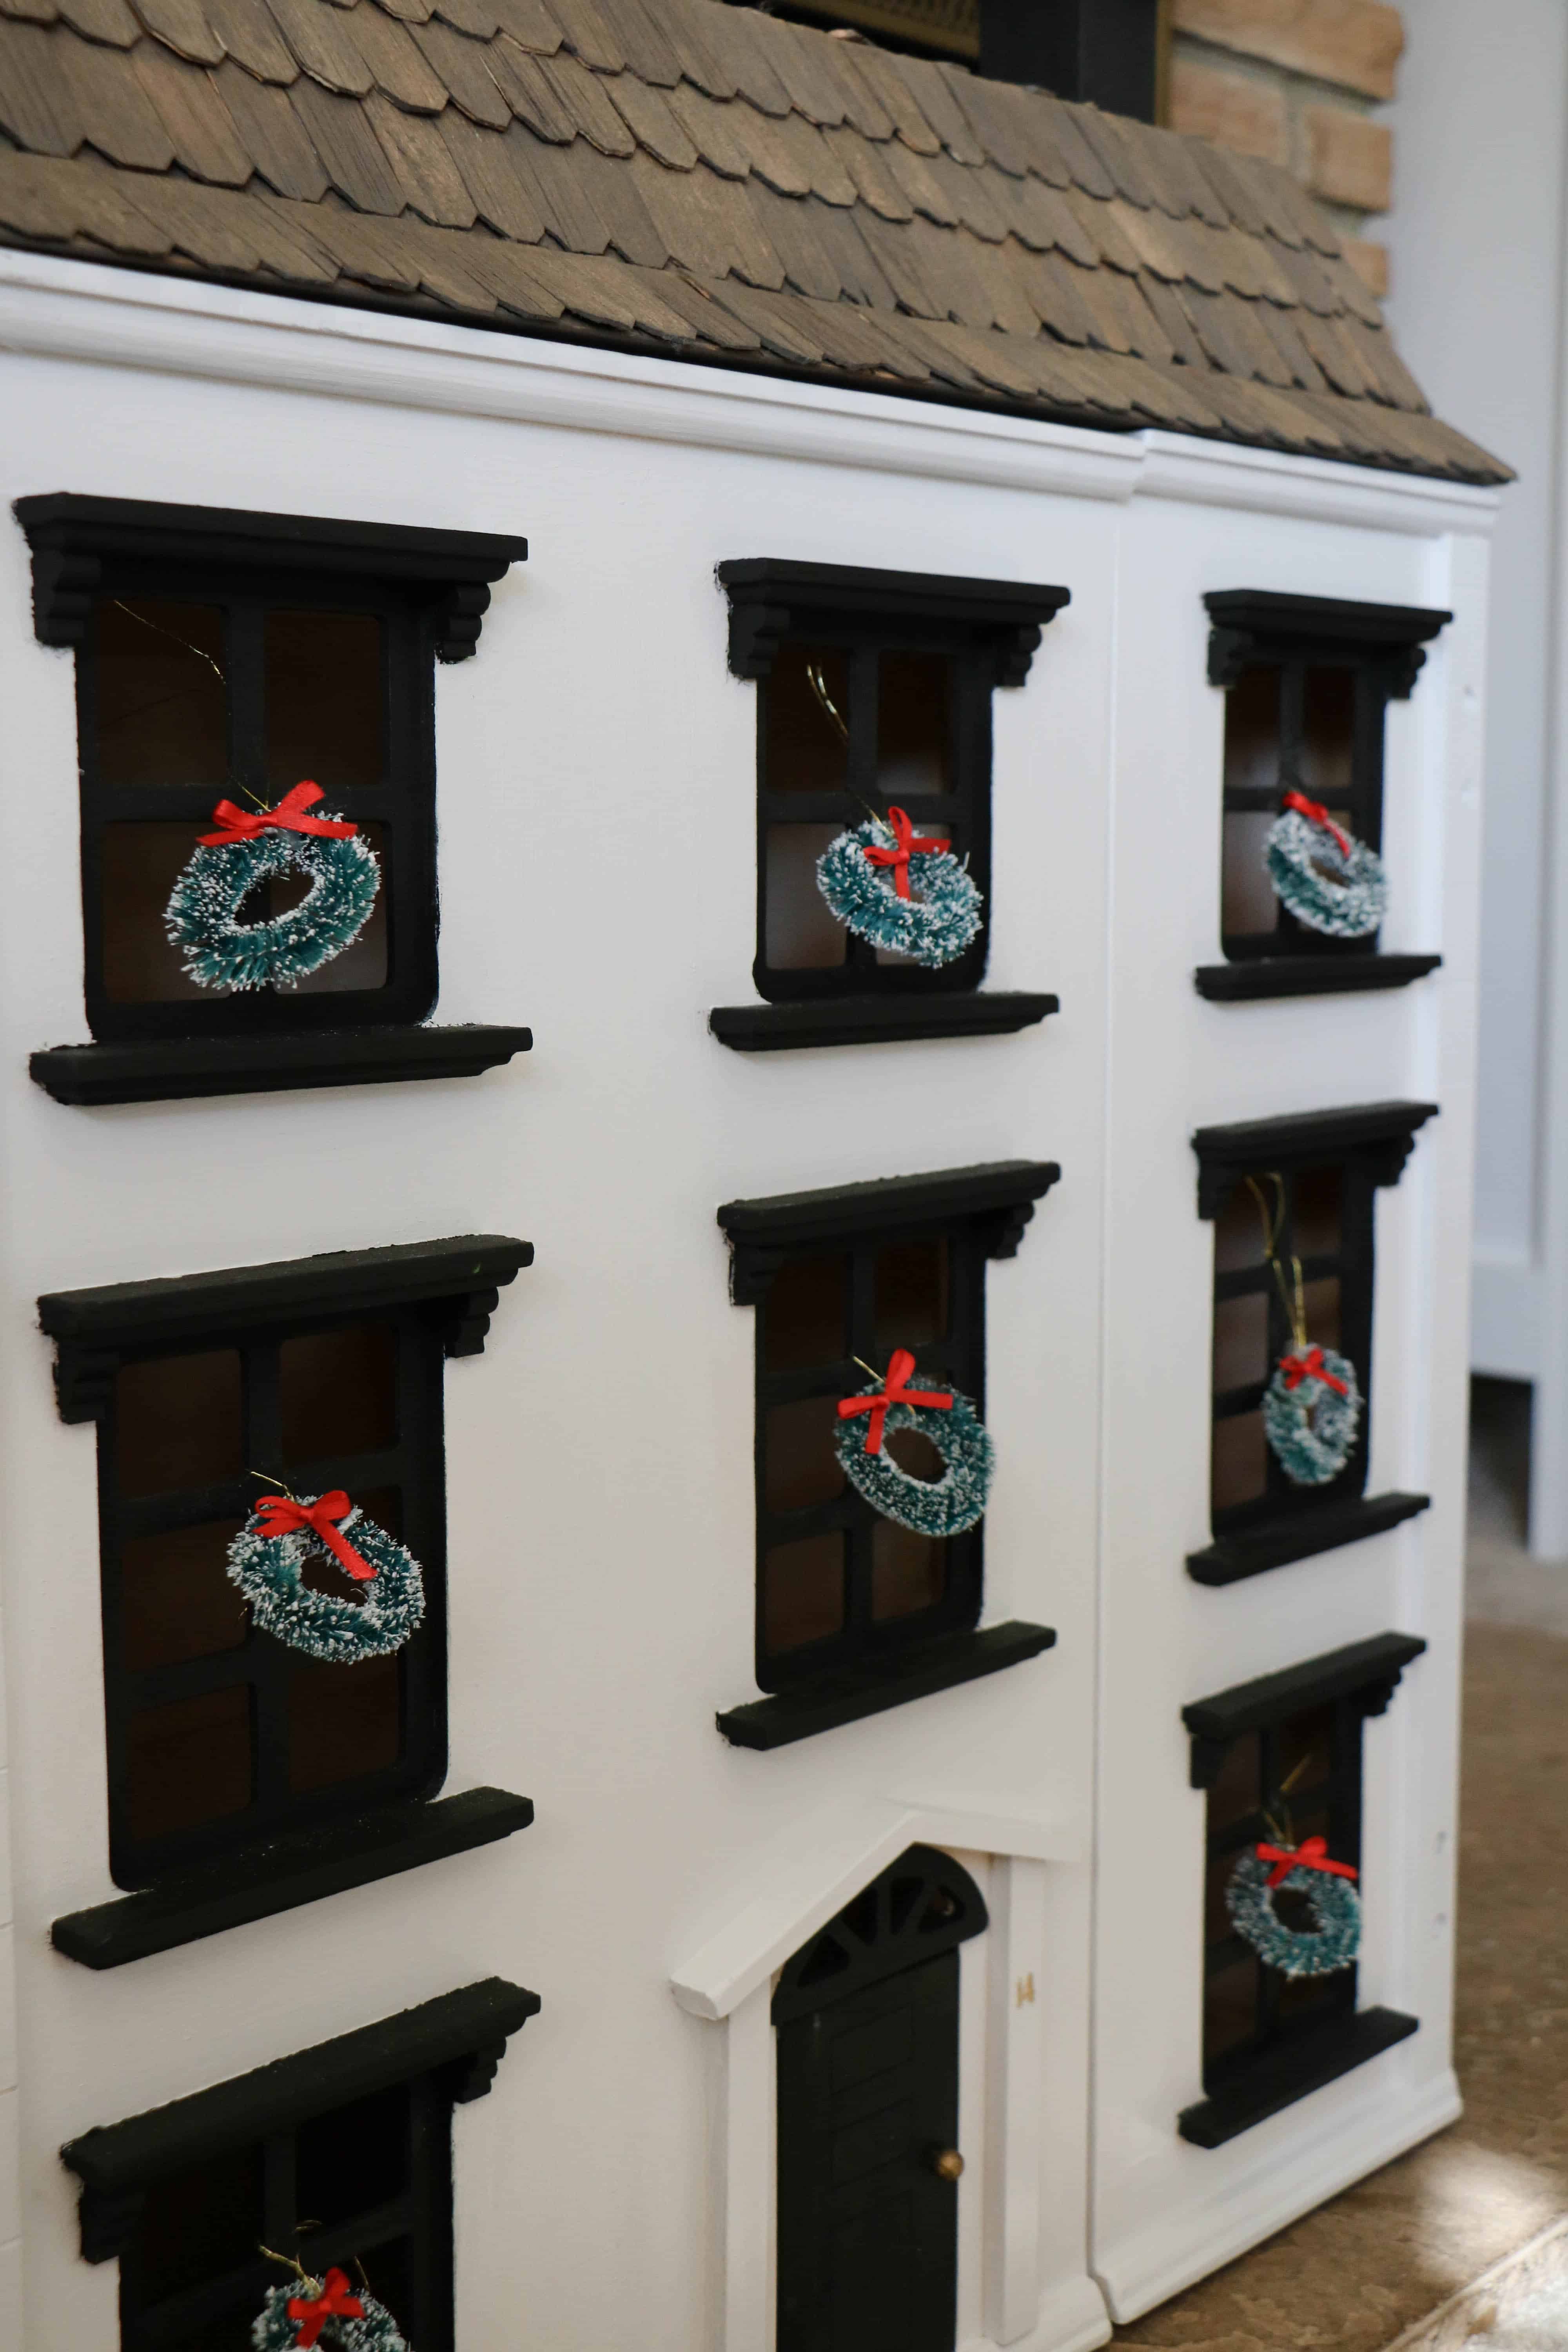
I used gold rub and buff for the gold posts on the chimney and the front door handle. The sweet little Christmas wreaths are from Hobby Lobby as well as the house numbers.
I left the interior plain because I was just out of time before Christmas (procrastinators unite!) but the kids love playing with it so that feels like a win. I am planning on painting the inside white and bringing in some cute furniture and accessories ala Maven Dolls. I figured the kids might get a kick out of helping pick out the furniture. I have my eye on this kitchen set and this fireplace.
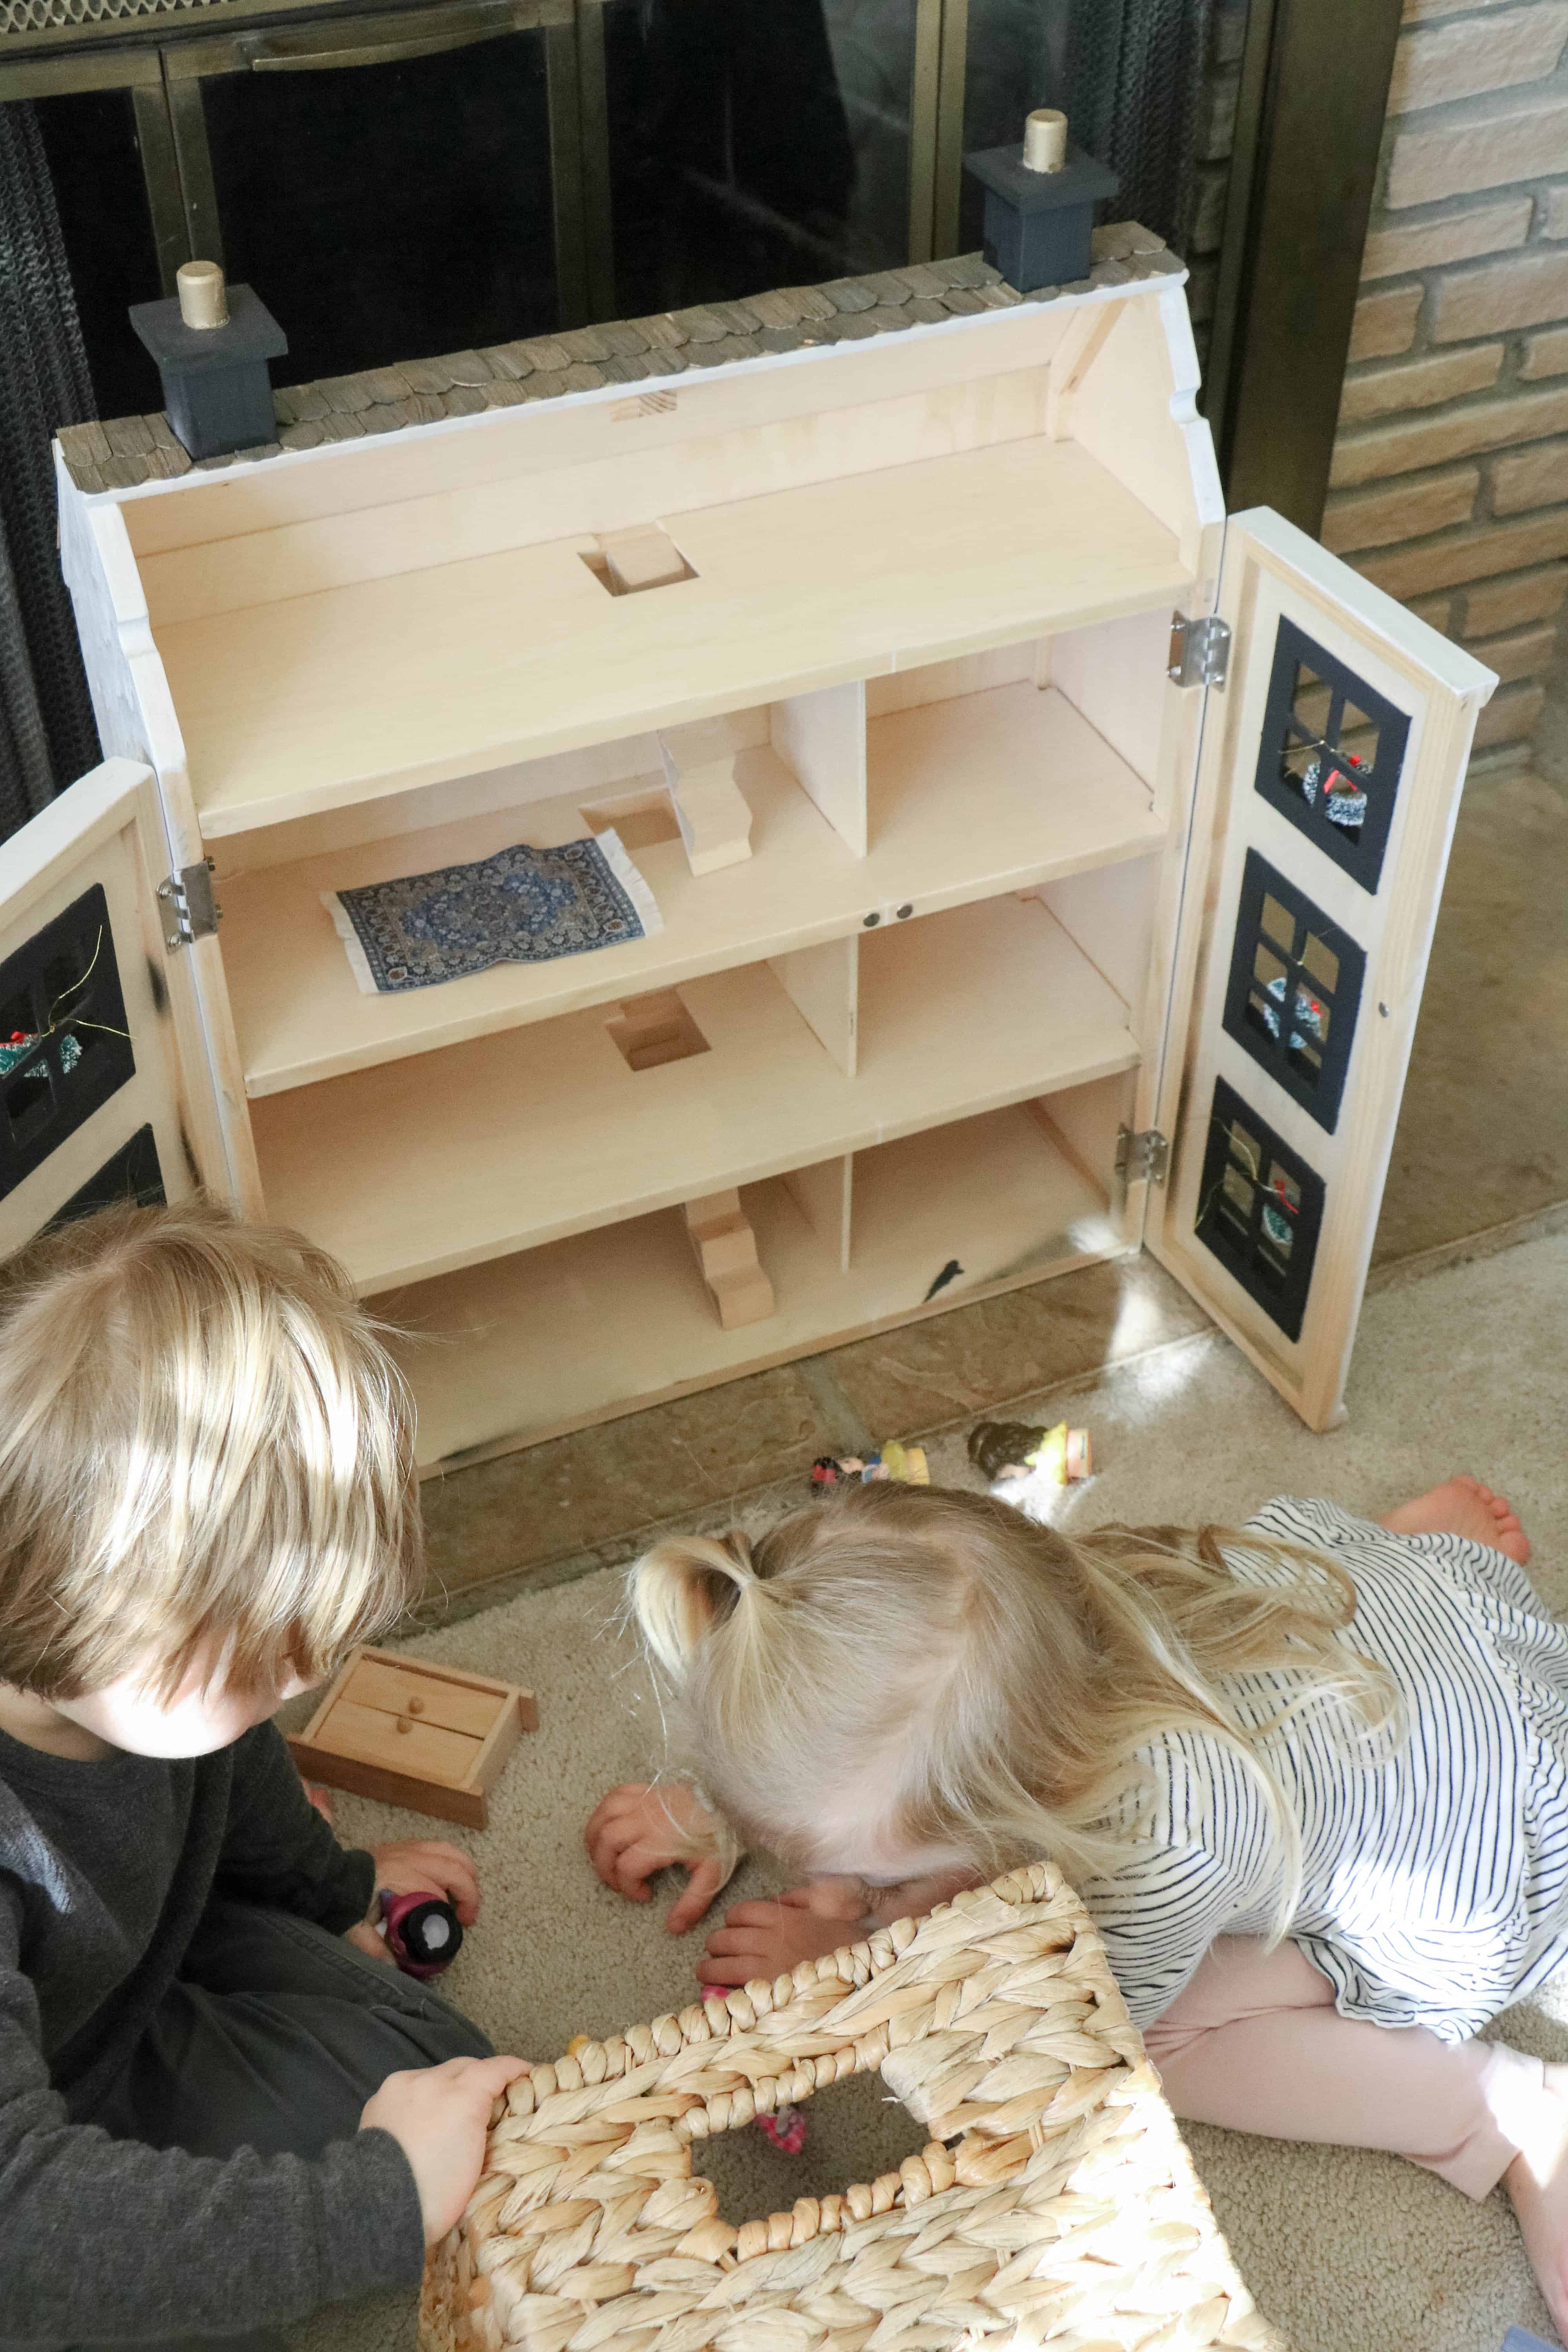
Right now their Little People princesses and super guys live in the house and they seem to be right at home. I also made a quick, last minute gift for Hudson that I’ve been receiving a lot of questions on from IG stories and Snapchat so I’m planning on doing a quick how-to post on that too.
Affiliate links used above. You buy, we get a slice of the pie (no extra cost to you!). Thanks for being the best. More information about affiliate links here.